How to Season Wood Quickly for Better Crafting Results

Understanding how to season wood quickly means drying it out to remove extra moisture and prepare it for crafting. This step is key if you want your project to last, stay stable and look polished.
The Importance of Seasoning Wood in Crafting
You might think wood is ready to go straight from the cutting board, but seasoning it first is really the secret sauce for any woodcraft. This little step, often overlooked, transforms rough lumber into a strong, reliable material that won’t play tricks on you down the line. Think of it as giving the wood a chance to settle in and reveal its true character, kind of like letting a fine wine breathe before enjoying it.
Wood naturally holds moisture and this detail plays a big role in its strength and how steady it keeps its size and shape. It also affects how nicely it accepts finishes. When wood hasn’t been dried the right way it tends to throw a fit—warping, cracking and drying unevenly—which can really put a dent in both the structure and look of your projects.
- Wood that’s properly seasoned is a game changer and much less likely to warp or twist while you’re elbow-deep in a project or even months later.
- It usually turns out stronger and more durable so your handiwork stands up better over time and can handle more wear and tear without failing.
- Paint and varnish tend to stick like a charm and glide smoother over dry wood for a finish that’s easy on the eyes.
- Seasoning is nature’s bodyguard helping keep mold, rot and pests at bay by dialing moisture down to safe levels.
Key Factors That Influence Just How Fast Wood Gets Seasoned
How long wood takes to season depends on a few key factors like the type of wood and how thick it is. The humidity in the air, airflow and temperature also matter.
| Wood Type | Typical Seasoning Time (Natural Air Drying) | Drying Speed |
|---|---|---|
| Pine | 6 to 12 months | Fast |
| Oak | 12 to 24 months | Slow |
| Maple | 12 to 18 months | Moderate |
| Cedar | 6 to 10 months | Fast |
| Mahogany | 12 to 24 months | Slow |
| Birch | 8 to 14 months | Moderate |
Here’s a handy snapshot of common wood types, their typical natural seasoning times, and the pace at which they tend to dry. In my experience, these timelines can feel like watching paint dry, but patience really pays off.
A Step-by-Step Guide on How to Season Wood Quickly That Actually Works
Speeding up the seasoning process takes a bit of finesse—finding ways to cut down drying time without compromising the wood’s natural quality.
Lean towards thinner wood pieces since they generally dry out faster than thick logs that hold moisture like a stubborn barnacle.
Breaking down large logs into smaller chunks is smart because it increases the surface area and helps moisture evaporate sooner.
Arrange the wood with good spacing and the right orientation to help airflow and prevent moisture from lingering.
Try using a solar kiln or placing the wood near heat lamps to gently speed up the drying process like giving your lumber a cozy spa day.
Place a dehumidifier in any enclosed drying areas to keep humidity levels under control and help the wood lose moisture faster.
When drying small wood pieces, you can carefully use microwave or oven methods but watch the temperature closely to avoid problems like cracking or burning.
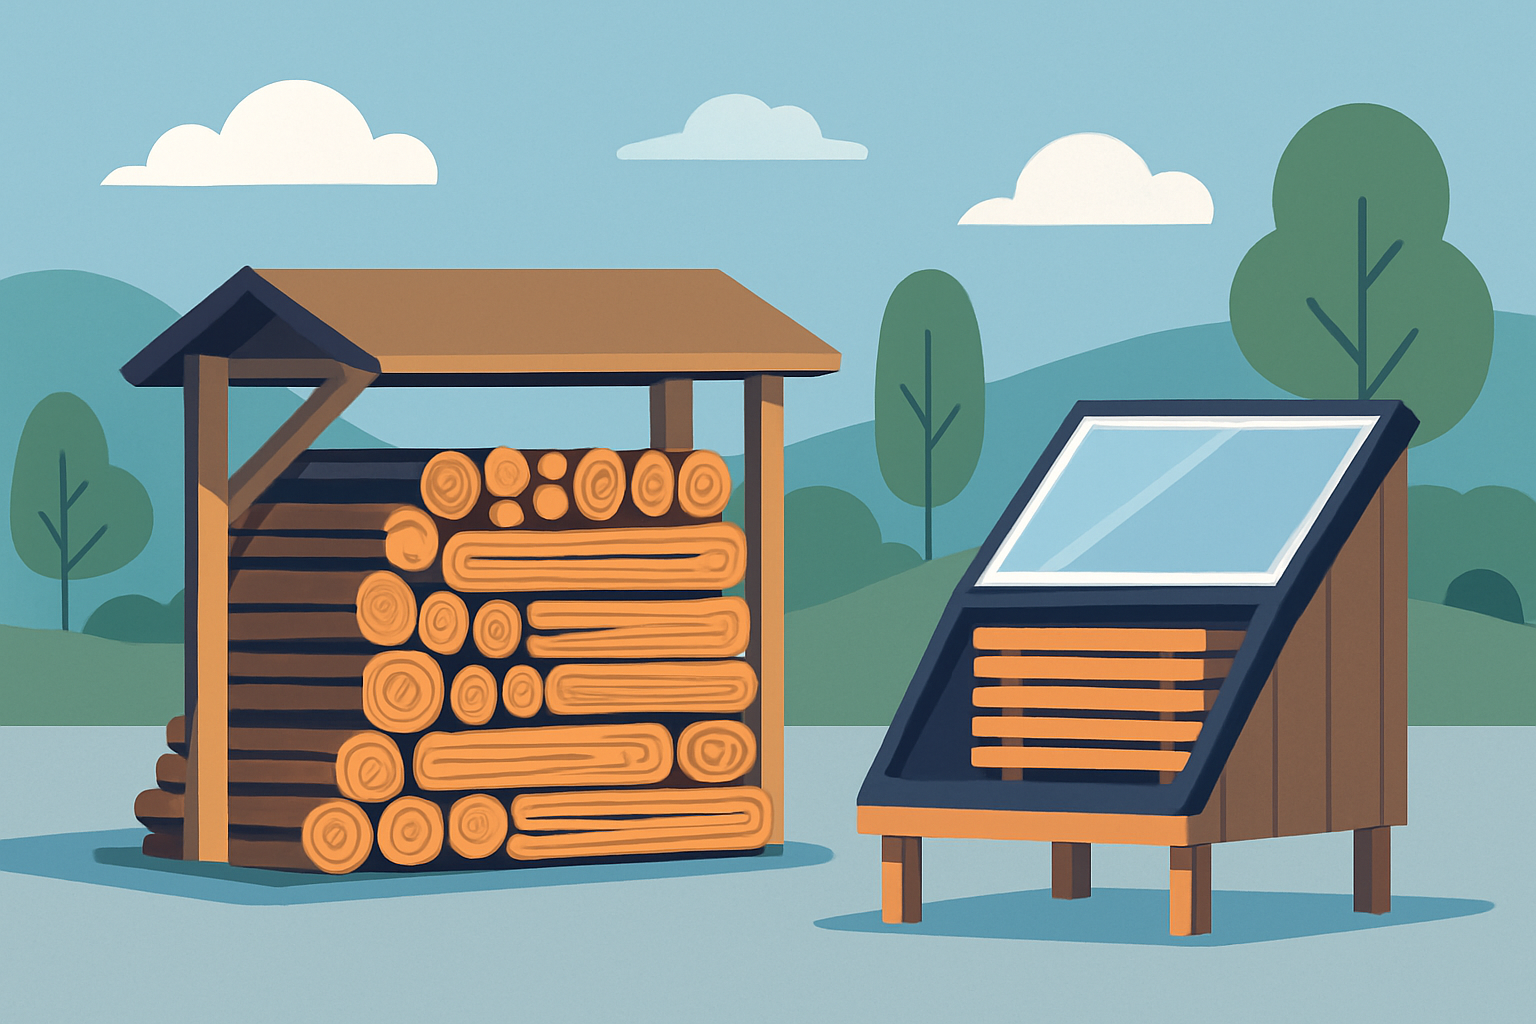
Well-stacked wood with adequate spacing outdoors alongside a small solar kiln for accelerated seasoning
In-Depth Guide to Using Heat-Based Methods Safely A Few Tips and Tricks
Drying wood using heat methods like ovens, microwaves or solar kilns can give the seasoning process a helpful kick if you handle it with care. It’s key not to go overboard with the heat or you risk turning your wood into something less than ideal. Keeping a careful eye on drying times and moisture levels is key.
- Keep a close eye on the temperature and stick to low or moderate heat settings in your oven or microwave to avoid any unwelcome burn marks.
- Heat in short bursts and give the wood some downtime between intervals because this little breather helps prevent cracking caused by sudden temperature swings.
- Let the wood cool off between heating cycles so the moisture can distribute more evenly throughout.
- Regularly check moisture levels either with a meter or by weighing the wood. This is the best way I’ve found to track drying progress and make sure you don’t go too far and overdry it.
How to Measure Wood Moisture Content Quickly and Accurately (Without Breaking a Sweat)
Knowing exactly when your wood is dry enough can really make or break your crafting project. Moisture meters come to the rescue by giving you quick, reliable readings—no guessing needed.
- Pin-type and pinless moisture meters operate on different principles but both reliably deliver moisture readings you can count on. They often show the wood’s dryness in real time, like giving your timber an instant health check.
- The weight test is straightforward: you weigh the wood as it dries. If the weight holds steady for a few days, that’s usually a good sign the wood has settled into stability.
- Crack testing is more of a keen eye exercise. You watch for surface splits or notice if the ends dry faster than the rest. This often points to moisture escaping the wood like tiny secret leaks.
Common Challenges You Might Run Into When Seasoning Wood in a Flash and How to Keep Them in Check
Rushing the seasoning process can sometimes backfire and cause issues like uneven drying, cracks and even mold if you are not careful.
- Avoid cracking by drying the wood slowly and dodging any sudden bursts of heat or direct sunlight because they can cause serious damage.
- Make it a habit to rotate and reposition your wood stacks regularly since this little dance helps all sides dry evenly instead of playing favorites.
- Keep the airflow flowing as good ventilation is your best friend indoors to stop moisture from building up and to keep mold from forming.
- Slap on some sealants or coatings on the end grain and other exposed spots as this trick helps slow down moisture loss and keeps those pesky splits away.
Additional Suggestions for Making the Most Out of Wood After It’s Seasoned
Once you understand how to season wood quickly, storing it the right way and prepping the surface with a bit of care really go a long way in preserving its quality.
- Keep seasoned wood tucked away in a dry and well-ventilated spot indoors, steering clear of direct sunlight or moisture.
- Always give the moisture level a quick check before diving into your project because nothing ruins plans like unexpected dampness.
- Sand those surfaces patiently, moving step-by-step from coarse to fine grit to achieve a smooth and even texture that is perfect for finishing.
- Pick the right sealants or finishes like varnish, oil, or paint to protect your wood and make the natural grain shine.