How to Build a DIY Pedestal Table - Step by Step

Building a DIY pedestal table is a fantastic way to mix style with a bit of hands-on creativity, perfect for anyone who loves rolling up their sleeves and tackling home improvement projects.
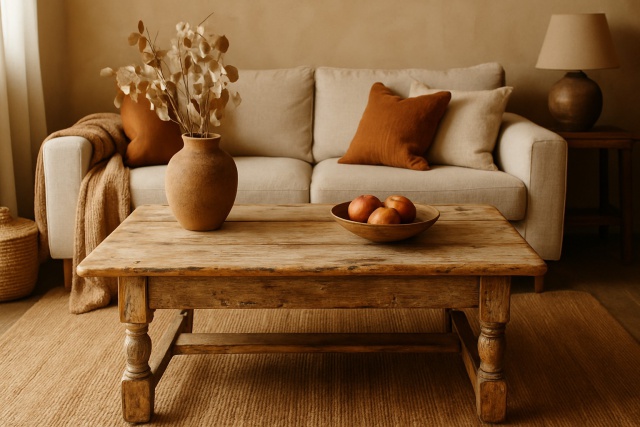
A pedestal table typically shows off a single central column holding up a round or square tabletop. This clever design often means you get more legroom compared to usual four-legged tables and gives off a clean streamlined vibe that fits well with a wide range of décor styles. The whole setup usually involves a sturdy base, a solid central column and a robust tabletop.
Materials and Tools You Will Need for Your DIY Pedestal Table (because no project ever got built with just good intentions)
- High-quality hardwood boards like oak, maple or walnut for the tabletop and pedestal—these beauties really make your piece stand out
- Plywood sheets to serve as sturdy support braces and keep everything solid
- Wood screws and bolts for making joints that won’t budge anytime soon
- Wood glue to give your project an extra strong hug
- Sandpaper in various grits from 120 to 220 because smoothness is key
- A power drill loaded with drill bits and screwdriver heads to speed things up
- A circular saw or table saw to slice the wood down to the perfect size
- Clamps to hold your pieces tight while you work your magic
- An orbital sander for a flawless smooth finish that really catches the eye
- Measuring tape, a square and a pencil—your trusty trio for nailing precise measurements
- Wood stain or paint in whatever color or finish tickles your fancy
- Polyurethane or a clear sealer to shield the surface and keep it looking fresh
- Felt pads for the base, a small but mighty touch to protect your floors from scratches
Picking good materials truly makes all the difference for both durability and style. Hardwoods like oak and maple bring a timeless classic look and hold up well against everyday wear and tear. Plywood is often the go-to for affordable stable internal supports that are solid and reliable without breaking the bank. When it comes to finishing touches, brands like Minwax have earned their stripes by offering stains and sealers that make the wood pop and keep it safe from daily bumps and scrapes.
Step 1 Getting Your Workspace and Materials Ready Let us Set the Stage
Start by setting up a clean, well-lit workspace with plenty of room to handle those large pieces of wood without feeling cramped. Keep your tools and materials within arm's reach so you don’t have to break your rhythm hunting for anything. Give your lumber a thorough once-over for any unwanted surprises like warping or cracks that could throw a wrench in your plans. It’s also wise to let the wood hang out in your workspace for a few days to get acclimated, which really helps prevent any unwelcome shifts after everything’s assembled.
Step 2 Cutting and Shaping the Table Components
Alright, now we get to the fun part—cutting and shaping those table components. This is where things really start to take shape, quite literally. Take your time here; rushing can lead to mistakes you’ll definitely wish you’d avoided later. Grab your tools, channel a bit of patience, and let’s get those pieces ready to fit together like a puzzle.
Begin by measuring and marking the tabletop dimensions directly onto your hardwood board. For a standard dining or side table you’ll generally aim for a diameter or square size between 30" and 48"—just the right range to fit most spaces without feeling cramped or oversized.
Next up, carefully cut out the tabletop shape using a circular saw or jigsaw. A steady hand makes all the difference.
Now, turn your attention to the pedestal base. Cut it from solid wood or sturdy plywood sheets. Usually you’re looking at a circular or square base that’s a bit wider than the pedestal column. This trick keeps your table grounded and standing proud.
Shape the pedestal column by cutting a central post. It could be a nicely turned wood piece or a stack of layered panels. If you’re feeling fancy, round the edges with a router for a softer more polished look.
Cut some support braces out of plywood to fit snugly between the base and column. These will give your table some much-needed extra strength and who doesn’t want a table that’s built to last?
Sand all edges and surfaces thoroughly starting with 120-grit sandpaper and gradually moving up to 220-grit. This step smooths out any rough spots and makes sure your table is splinter-free—a lifesaver for those bare-legged lazy Sundays.
If you’re up for it, add some decorative edge details using a router bit. It’s a nice flourish that can elevate the look making the table feel custom-crafted rather than DIY.
Finally, before you commit to assembly, double-check every measurement and do a dry run by fitting all the parts together. It’s the best way to catch surprises before glue or screws come into play.
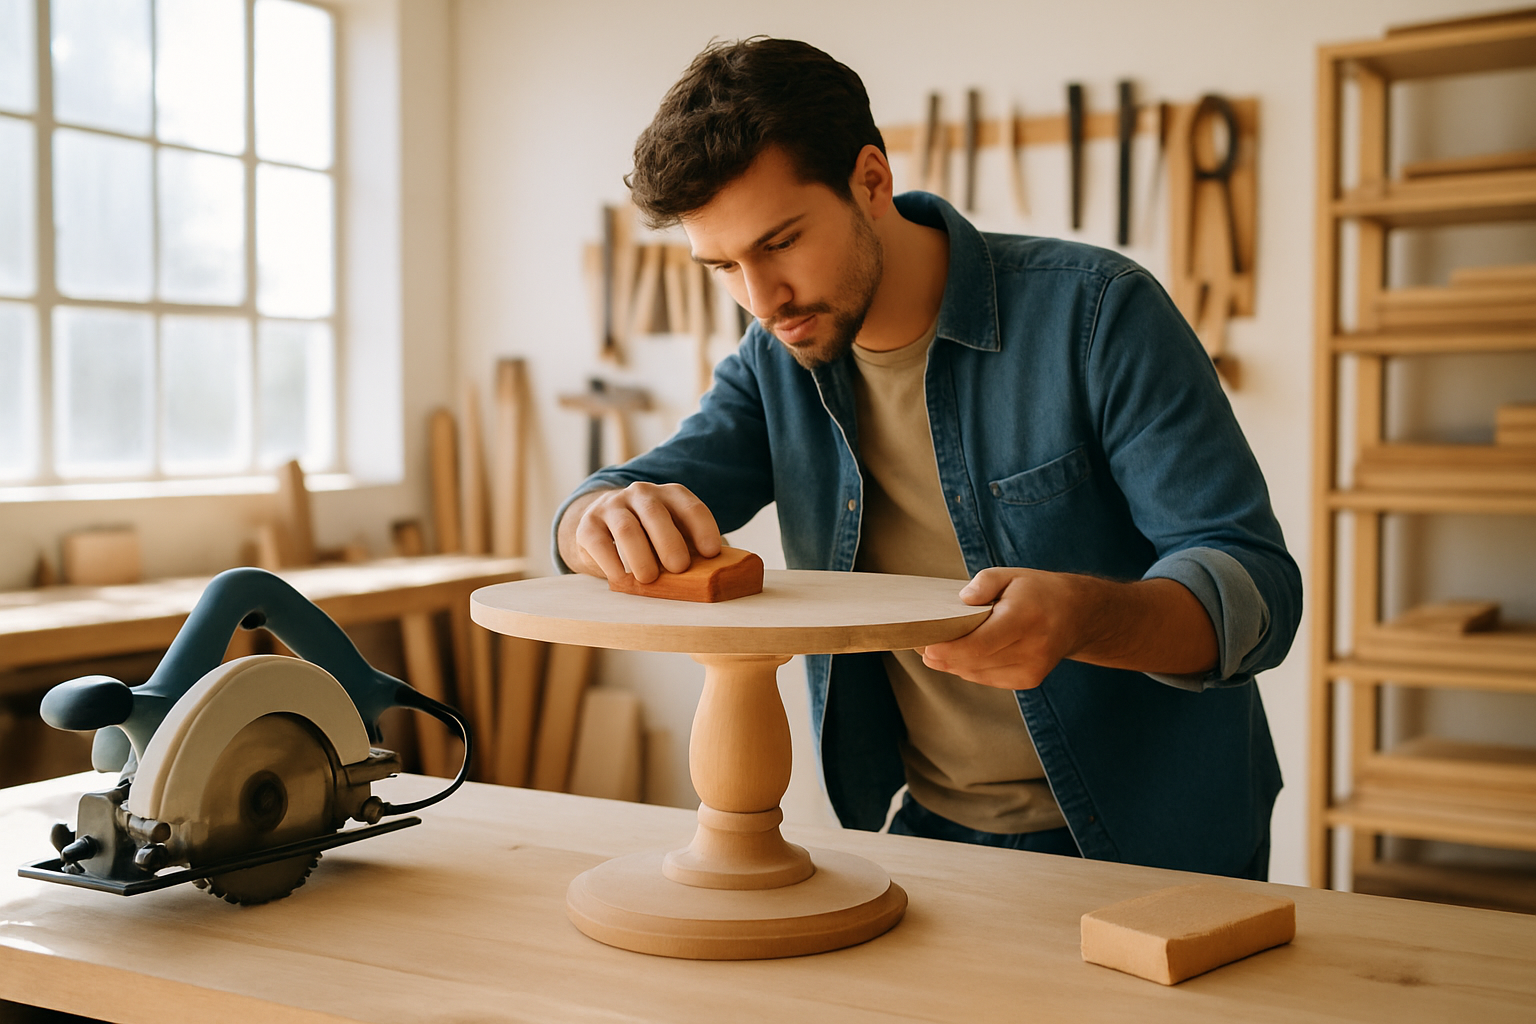
A craftsman carefully cutting and sanding components of a pedestal table ready for assembly
It really pays off to measure twice before cutting and use sharp blades to avoid those pesky chip-outs or rough edges. Taking your time usually saves you from the headache of extra sanding or the dreaded need to recut.
Step 3 Putting Together the Pedestal and Tabletop—Bringing It All Home
Glue and screw the pedestal column pieces together if they’re layered or firmly assemble the turned wood post so it feels rock solid.
Attach the support braces inside the base using wood glue and screws. This step lays the groundwork for a foundation that won’t budge.
Connect the pedestal column to the base with long wood screws or bolts to maximize stability. Make sure to center the column just right because precision pays off here.
Flip the tabletop upside down onto a soft surface and attach mounting brackets or a cleat system to secure the tabletop to the pedestal.
Secure the assembled pedestal base to the tabletop by screwing the brackets snugly in place. Then double-check that the table sits level without any wobble that might drive you nuts.
Use clamps as needed while the glue dries. This little trick keeps everything from shifting or loosening and can save you headaches down the road.
Give every joint a thorough once-over and tighten up any hardware before moving on to finishing. A careful check here makes all the difference.
Opt for quality hardware like brass or zinc-plated screws and bolts—they’re great at fighting off rust and will stand the test of time. When working with screws, countersink them then fill the holes with wood putty to achieve a smooth polished look that shows craftsmanship. Pairing wood glue with mechanical fasteners boosts the strength and stability of your joints quite a bit.
Step 4 Sanding, Finishing, and Sealing Your Table Bringing It All Together
After you’ve put your table together kick off the finishing process by sanding the entire surface with fine-grit sandpaper. This step really sets the stage for staining or painting. Choose a finish that vibes well with your decor then apply the stain or paint in thin even layers using a foam brush or a cloth. Once it’s dry seal the deal by coating it with a clear polyurethane finish to keep scratches and moisture at bay.
- Oil-based stains tend to sink in deeply, delivering a rich hearty color that really pops but often come with stronger smells and take longer to dry.
- Acrylic paints are like the rainbow at your fingertips with many colors and a smooth solid finish perfect for sleek modern vibes.
- Polyurethane sealants throw down a tough protective coat that can be glossy or matte. Think of it as armor for your table, helping it stand up to everyday wear and tear.
- Wax finishes bring a soft gentle shine and a smooth feel but need regular TLC to keep their protective magic working.
Apply finishes in thin even layers using smooth and steady back-and-forth strokes—think of it as a gentle dance across the surface.
Step 5 Putting It All Together and Care Suggestions That Actually Work
For your DIY pedestal table, slap some felt pads or rubber feet on the bottom of the base—this little trick will save your floors from scratches and keep the table from dancing unexpectedly. Before you call it a day give the table a once-over for wobbling or loose screws and tighten things up as needed.