How to Paint a Mural for Playroom That Kids Will Love
Painting a mural in a playroom can completely breathe new life into an otherwise plain space, turning it into a vibrant world filled with imagination and creativity. A well-thought-out mural not only enhances the room's appearance but also encourages children to learn and play by surrounding them with storybook-like scenes.
This handy guide will help you nail the perfect theme and whip your space into shape. It will also help you pick out materials like a pro and create your mural step-by-step without breaking a sweat.
Planning Your Playroom Mural Getting Started (Let’s Dive In!)
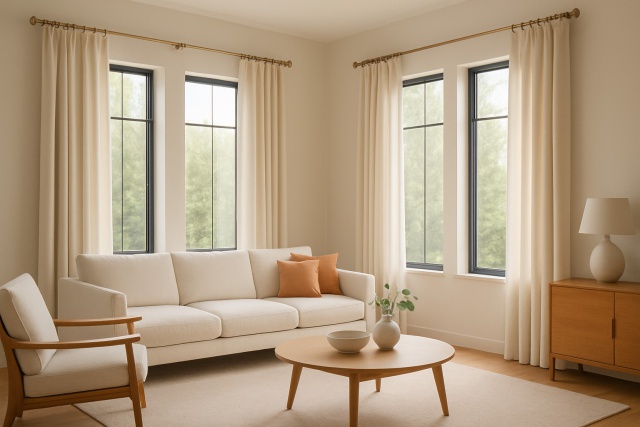
Before you dive into painting it is key to get a good feel for the playroom's physical environment. Details like the texture of the walls and the amount of natural light flooding in can seriously influence not only the design but also how practical the mural will turn out. Just how much space you’re working with also matters.
- Measure the wall area carefully to know exactly how much space you have to work with.
- Check the wall for cracks, bumps or peeling paint because these imperfections affect how well the paint sticks.
- Pick the wall that catches the eye and fits with the room’s overall vibe.
- Consider the light sources, both natural and artificial, that will highlight your mural and bring it to life.
- Scout out any existing textures like wallpaper or paneling since they make painting trickier and planning helps.
Getting your children involved in the planning can be a surprisingly fun and meaningful adventure. Dig into their favorite characters or themes and encourage them to share their ideas or drawings or even quirky little stories.
How to Choose the Perfect Mural Design for Kids (Without Losing Your Mind)
Picking a mural design that really grabs kids' attention means leaning into playful and imaginative themes with colors that fire up creativity without completely taking over the room.
- Animals and lively jungle scenes bring educational settings to life and add a splash of color and excitement that kids can’t help but notice.
- Outer space and planets spark natural curiosity about the vast universe above us and invite a sense of wonder that’s hard to beat.
- Fairytales and storybook castles stoke the fires of imagination and provide a perfect playground for creative role play where anything feels just within reach.
- Nature scenes filled with trees, flowers and mountains provide a much-needed dose of calm and peacefulness like a gentle breath of fresh air for the eyes.
- Abstract patterns boasting bright playful shapes encourage creativity and discovery in a way that feels fun and delightfully unexpected.
To strike that perfect balance between energy and comfort, try blending lively colors like bright reds or sunny yellows with calming shades such as soft pastel blues or gentle greens.
Gathering Up All the Materials and Tools You will Want for Your Mural
A successful mural project requires a solid mix of supplies: primer to prep the wall, a variety of indoor paints to keep things interesting and quality brushes and rollers because you’ll need both broad strokes and those tricky fine details. Don’t forget sealants to lock in all your hard work.
| Material | Purpose | Recommended Type/Brand | Approximate Cost |
|---|---|---|---|
| Primer | Gets the wall ready and smooths out imperfections before you start | Zinsser Bulls Eye 1-2-3 | $20-$30 per gallon |
| Wall Paint | Delivers the base and main splash of color for your mural | Benjamin Moore Regal Select (low VOC) | $30-$50 per gallon |
| Detail Brushes | Perfect for those tiny details and crisp outlines that make your art pop | Winsor & Newton Sable Brushes | $10-$20 each |
| Rollers | Great for covering big wall space quickly without missing a spot | 9-inch microfiber roller | $8-$15 each |
| Sealant/Varnish | Protects your masterpiece from scuffs, smudges, and everyday wear | Krylon Crystal Clear Acrylic Coating | $10-$15 per spray |
Go for child-safe non-toxic paints that boast low levels of volatile organic compounds (VOCs) to keep your mural as safe as houses for the little ones indoors.
A Straightforward, Step-by-Step Guide to Painting a Playroom Mural That Even Beginners Can Nail
Kick things off by giving the wall a good thorough clean and then apply a coat of primer. This extra step helps the paint go on much smoother.
Next, gently transfer your design onto the wall using a light pencil sketch or use a projector to get the lines just right.
Mix up your chosen paints and don’t hesitate to test a few patches first. Seeing how the colors look under the room’s lighting can save you trouble later.
Start painting the background elements before you move on to the foreground details. Remember to let layers dry when needed to avoid smudging or streaking.
Now bring your work to life by adding highlights, shadows and the fine little details that really make your mural stand out.
Finally, protect your masterpiece with a non-toxic sealant to guard it against the everyday wear and tear it will face.
Mistakes happen during painting, so don’t sweat those little drips or colors wandering off course. If you catch them while the paint is still fresh, a gentle wipe with a damp cloth usually does the trick. For the more stubborn spots, a touch-up after everything has dried can work wonders.
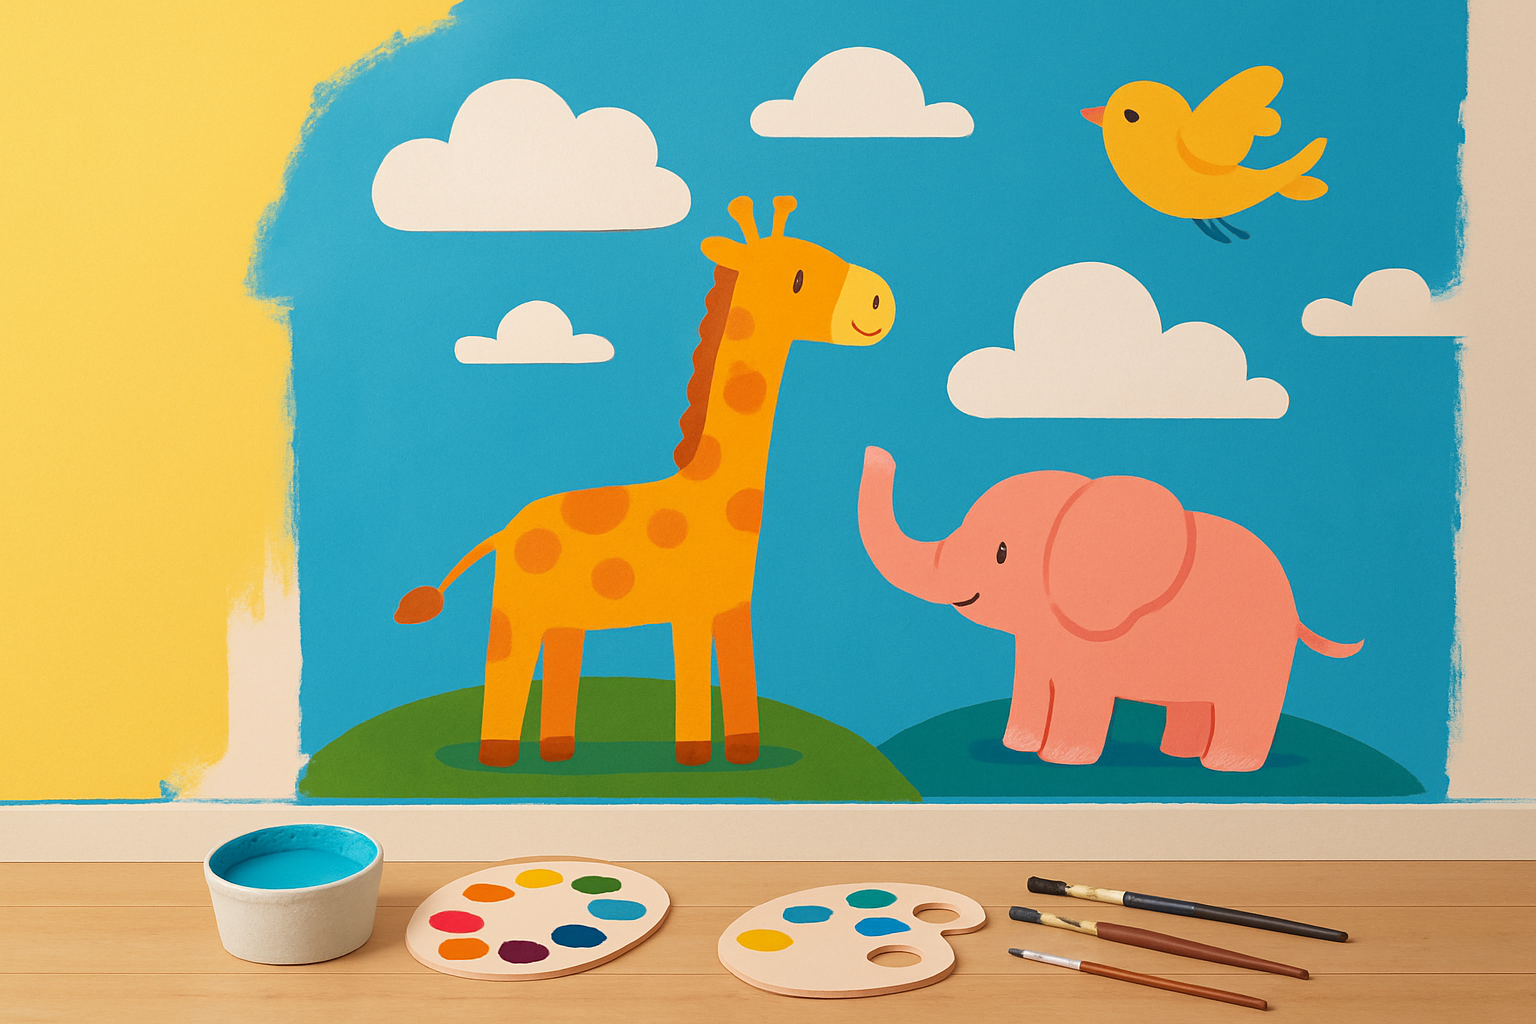
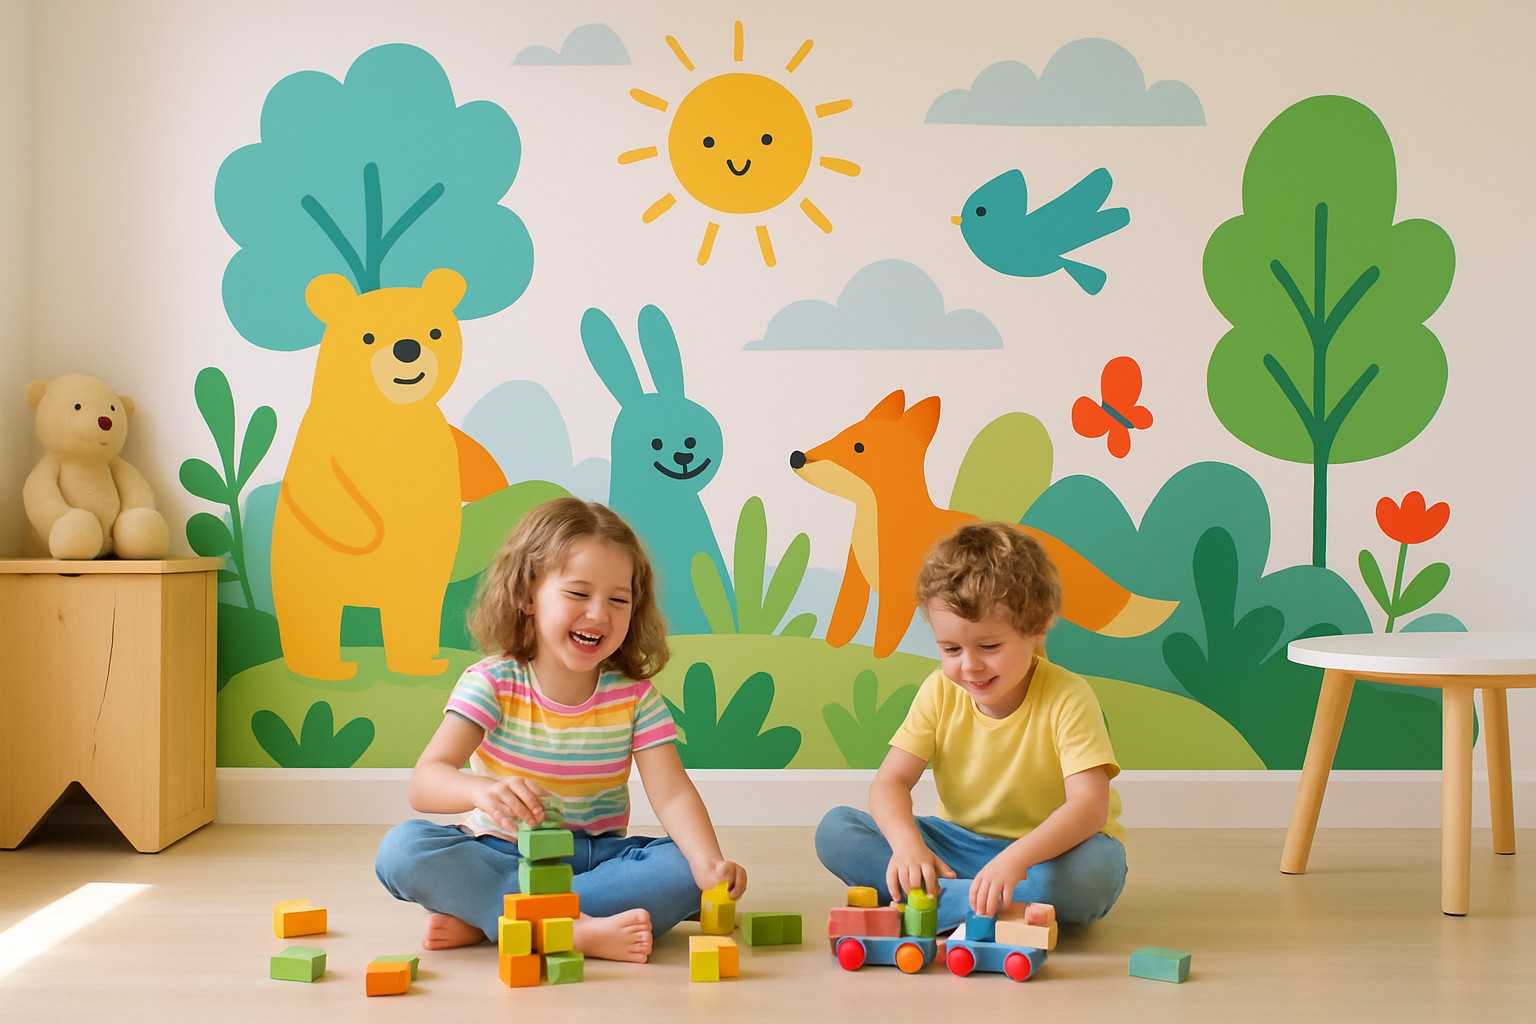
A vibrant mural in progress in a children's playroom featuring playful animals and bright colors.
Typical Challenges and How to Tackle Them Like a Pro
Painting a large mural can sometimes feel like a juggling act, especially when you battle issues like paint dripping and uneven patches. It’s usually best to apply thinner layers and give each coat plenty of room to dry properly. Also, remember that weather and humidity affect drying times so keep the space well-ventilated.
- When tackling a big wall, it’s often a good idea to break the mural down into bite-sized sections and really hone in on one spot at a time. It makes the whole thing feel way less overwhelming.
- To keep the little ones out of trouble, create a clearly marked safe zone and have a quick heart-to-heart about why it’s best to steer clear of the painting area. It saves a lot of headaches.
- Keep a weather eye out because if it’s too humid or downright miserable outside, the paint might throw a bit of a tantrum when drying and sticking.
- For colors that don’t play hide-and-seek mid-project, mix up bigger batches of paint all at once and stash any extras in sealed containers. It’s like insurance for your masterpiece.
Final Steps and Handy Care Tips to Keep Things Running Smoothly
Keep your mural looking fresh as a daisy by going for a clear, non-toxic sealant that stands up to scratches and the occasional rigorous clean. This little trick helps the colors pop and shields the paint from the everyday bumps and scrapes that come with a lively playroom.
- Opt for non-toxic acrylic sealants that are specially designed for indoor murals. These will help keep your space safe and sound without any unwanted fumes.
- When it’s time to clean, gently wipe the mural with a soft cloth and mild soap. It’s best to avoid any harsh chemicals that could damage the artwork.
- Keep some matching paint close at hand for those inevitable little touch-ups. This way you can quickly mend any chips or scuffs before they become an eyesore.
- Arrange furniture and toys a bit away from the wall because this not only helps prevent accidental bumps or scratches but also keeps your mural looking fresh and fabulous for longer.
You might find yourself wanting to touch up the mural for playroom now and then—maybe repaint a few spots or sneak in some new details that catch their ever-evolving interests.