How To Cut Bottom Cabinet Trim For A Clean Finish
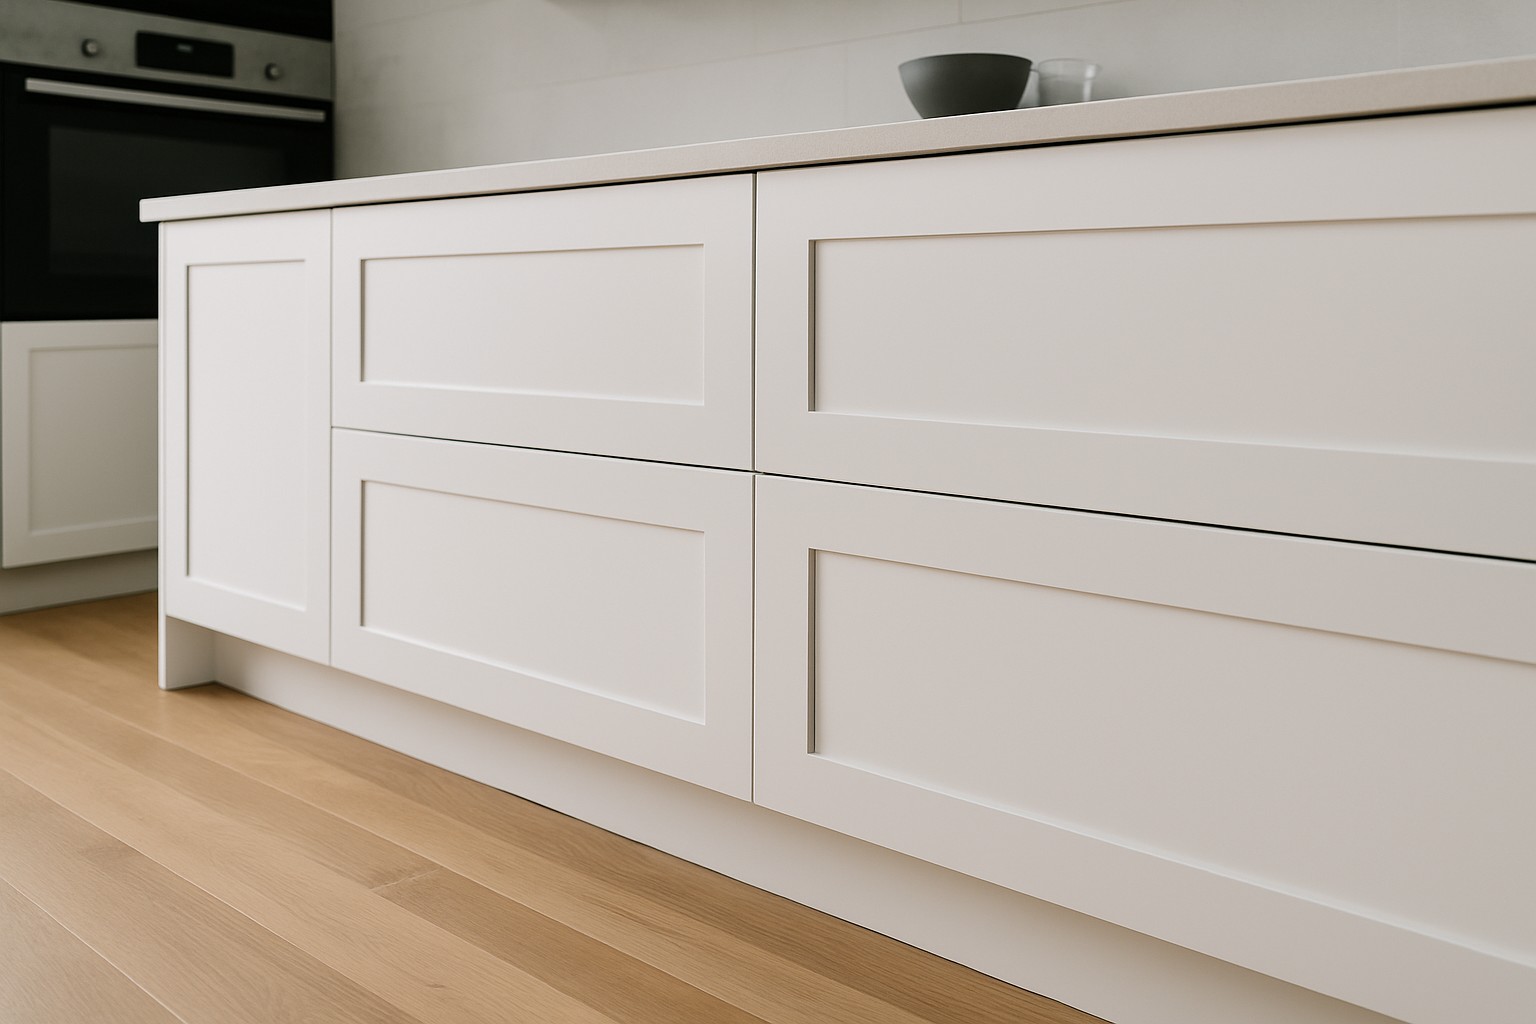
Bottom cabinet trim quietly plays the unsung hero supporting both the look and lasting quality of your cabinetry. Think of it as the baseboard's humble cousin that adds style while standing guard against scuffs, dirt and moisture that often sneak in at the base. Getting a clean cut and tight installation on this trim is more than just a detail. It is the secret to a polished professional finish that lifts your entire home's interior.
What Bottom Cabinet Trim Is and Why It Really Matters
Bottom cabinet trim is the molding that sits at the base of cabinets and hides gaps while shielding them from daily wear and tear. You will find it made from materials like solid wood, MDF, PVC or composite wood, each offering different durability and ease of installation.
Essential Tools and Materials You’ll Need When Cutting Bottom Cabinet Trim
- A trusty measuring tape to nail down exact length measurements because guesswork won’t cut it
- A miter saw or miter box to help you slice those angles like a pro and make sure everything fits just right
- A sharp pencil or marking tool for crisp clear cut lines that won’t leave you guessing
- A carpenter’s square to keep all your corners honest and your angles true
- Clamps to hold your trim pieces steady so they don’t wander off mid-cut
- Medium to fine-grit sandpaper to smooth down those edges until they’re practically begging to be touched
- Safety goggles and ear protection because better safe than sorry when it comes to your eyeballs and ears
- Finishing nails or construction adhesive to firmly attach the trim without any fuss
- A utility knife for delicate little trimming jobs and tidying up because the devil is in the details
Picking the right tools really boils down to the trim's material and how tricky your cuts are. A sharp miter saw blade built for wood usually nails clean edges on hardwood trims like a charm. When you are working with MDF or PVC you will want blades tailored to minimize chipping because nobody likes a rough finish. Beginners often get by just fine with a miter box and handsaw. It is simple and gets the job done without too much fuss.
Steps to Get Ready Before Tackling the Bottom Cabinet Trim
Measure the cabinet base length with care and watch for any bumps or uneven spots that might trip you up.
Mark your cut lines clearly on the trim pieces using a pencil and bring your trusty carpenter's square to ensure everything lines up just right.
Decide on the style and angles for your trim cuts—whether straightforward straight cuts or snazzy mitered corners that add flair.
Set up your workspace thoughtfully. Good lighting is key. A steady cutting surface is a lifesaver. Clamps will hold the trim pieces tight while you work your magic.
One common slip-up is relying on guesswork instead of precise measurements, which often ends in a sloppy fit and plenty of wasted material. It’s wise to measure twice and mark all your cuts with care before taking the plunge.
How to Cut Bottom Cabinet Trim for a Neat, Clean Finish That Really Ties the Room Together
Start with a well-calibrated miter saw and make sure your trim piece is locked down tight. It’s worth double-checking your settings before making any cuts because it saves headaches later. Use smooth confident strokes to achieve crisp clean edges. Then hold the cut piece up against the cabinet to see if it fits snugly. Whether you’re tackling angled cuts or going straight, patience and a steady hand will go a long way.
Clamp the trim piece firmly to the miter saw base so it doesn’t wobble while you’re cutting. Trust me, it makes all the difference.
Grab a pencil and a square to carefully mark the exact spot where you want the perfect cut to happen.
Adjust the miter saw angle based on your corner type. Usually, you’ll set it to 45 degrees for standard miter joints or make a straight cut if that is what the situation calls for.
Lower the saw blade smoothly and steadily through the trim. Resist the urge to push too hard and let the saw do its job.
Hold the freshly cut trim piece up against the cabinet for a quick fit check to make sure everything lines up nicely.
Give any rough edges a gentle sanding with fine-grit sandpaper. Do just enough to leave a smooth, clean finish that looks as good as it feels.
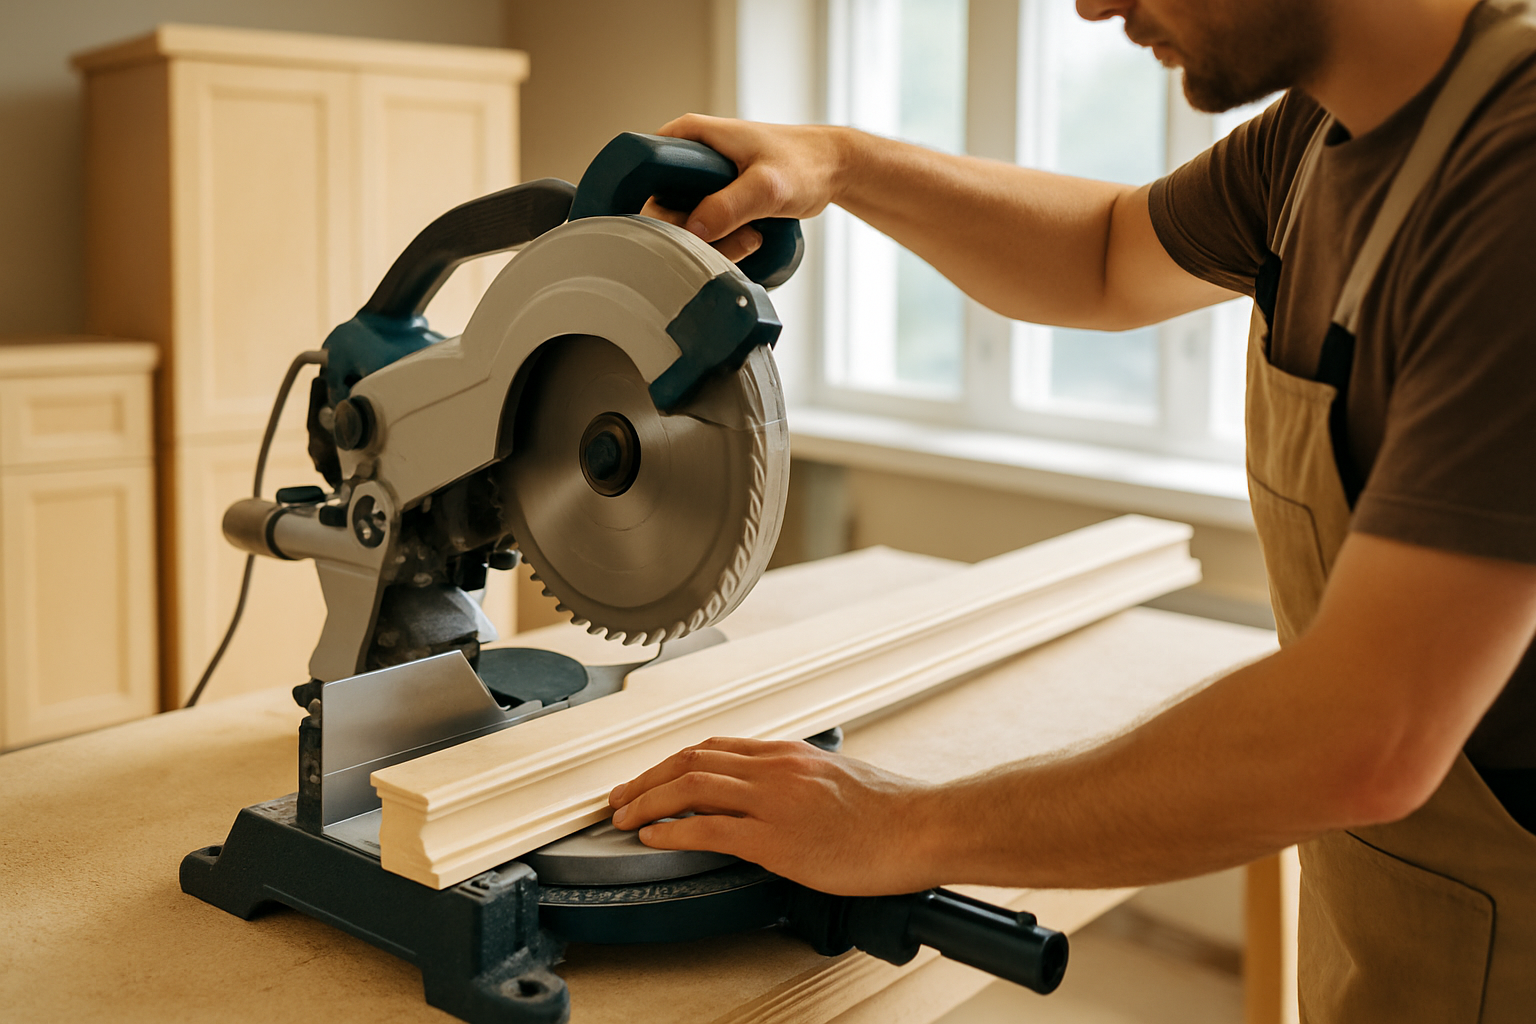
A woodworker carefully cutting bottom cabinet trim using a miter saw for precise angles
Inside and outside corners each have their own cutting tricks to achieve those tight, seamless joints we all strive for. Inside corners typically call for matching miter cuts—that’s two 45-degree angles that snugly fit together to form a perfect 90-degree corner. Outside corners have trim pieces that tend to overlap slightly with opposing bevel cuts, which can feel a bit fiddly at first.
Tips for Achieving Perfect Miter and Butt Joints
Getting those miter and butt joints just right can feel a bit like chasing perfection, but with a few handy tips up your sleeve, you’ll find it’s more doable than you might think. Whether you’re a seasoned woodworker or just starting out, nailing these joints can really elevate your project from "meh" to "wow." Let’s dive in and make those joints sing!
Nail perfect miter joints by cutting both trim pieces at matching angles, typically 45 degrees, and holding them steady while nailing or gluing—no wobbles allowed. Butt joints where the trim meets at a right angle without any bevel demand careful length measuring and a tight fit. I’ve found that clamps and a finishing nailer work wonders and keep everything snug as the glue dries.
Common Challenges and How to Tackle Them Head-On
- Uneven cabinet bases can create those pesky gaps, so it’s a smart move to use shims or adjust the trim height during installation to keep things snug.
- Measurement slip-ups happen more often than we like to admit. Getting into the habit of double-checking all your dimensions and making test cuts on scrap wood can really save your bacon.
- Splintering or chipping often appears on delicate surfaces. Choosing a fine blade and applying painter’s tape over the cut lines usually does the trick to prevent damage.
- Keeping the trim height consistent across several cabinet sections requires careful measuring and marking every step of the way. The payoff is worth the extra elbow grease.
If a cut doesn’t turn out like you hoped don’t sweat it. Light sanding, wood filler or caulk usually do the trick to mask those little imperfections. For bigger slip-ups you might have to bite the bullet and recut the piece. Sometimes tweaking the installation angle or slipping in a shim can save the day. When dealing with dense or brittle trim pre-drilling holes is a smart move to avoid any cracks.
Final Steps to Nail That Polished, Professional Look
After fitting and attaching the bottom cabinet trim, a bit of sanding goes a long way to smooth any rough patches or gaps. I’ve found that using wood filler or caulk to fill tiny cracks or nail holes really helps achieve that clean seamless look we all aim for. Once it’s dry, give the trim a fresh coat of paint or stain to match or complement your cabinets—it’s the little details that make a big difference. Be sure to secure the trim firmly with finishing nails or adhesive so it doesn’t budge unexpectedly. As a final touch, you might want to add a protective topcoat to boost durability, especially in spots that get damp like kitchens.
- Lightly sand the edges using fine-grit sandpaper to create a smooth surface. This small step really helps the paint stick like a charm.
- Grab a quality wood filler or painter’s caulk to neatly fill any gaps and cover those nails. This is the secret to a flawless finish.
- Choose a paint or stain that matches your cabinet finish perfectly or blends seamlessly with your kitchen’s color palette because it makes all the difference.
- Attach the trim with finishing nails set just below the wood’s surface or use a strong construction adhesive if you prefer. Both methods work well.
- Finally, seal your finished trim with a clear coat or polyurethane to protect against moisture and wear. This protective layer goes a long way.
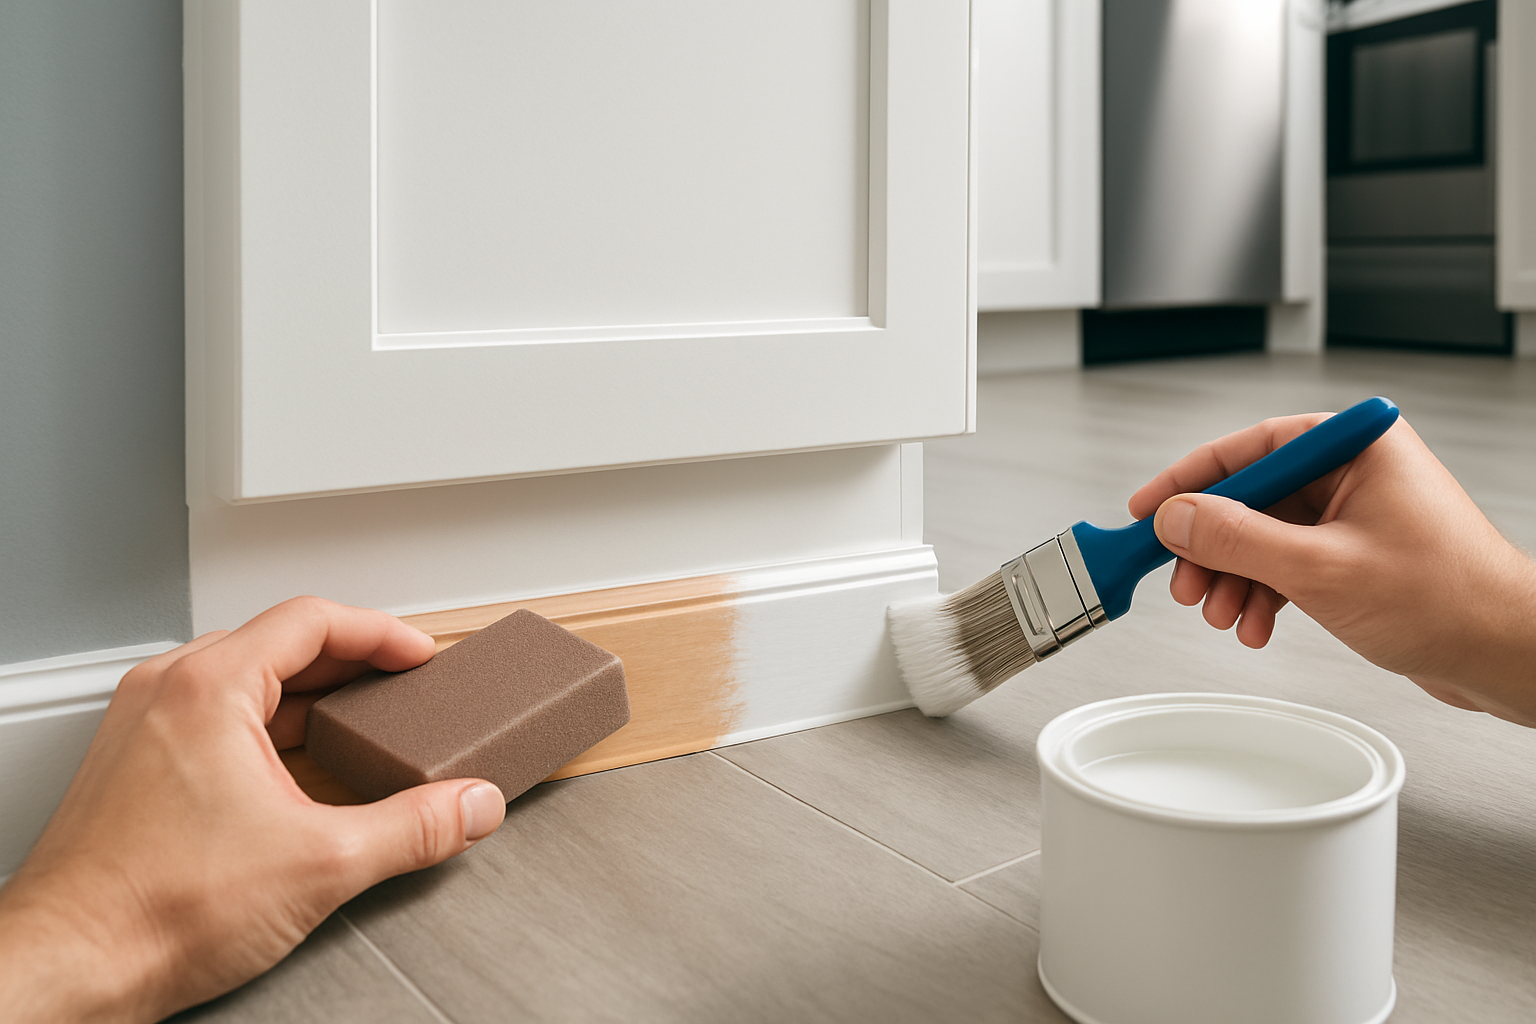
Applying finishing touches on bottom cabinet trim including sanding and painting for a sleek look
Tips for Caring for Bottom Cabinet Trim (Because Those Little Details Matter)
Keep your bottom cabinet trim looking clean and fresh over time by wiping it regularly with a damp cloth and mild detergent to cut through dirt and grime. Definitely steer clear of harsh chemicals. Every now and then, check the trims for loose nails or signs of wear and don’t hesitate to re-nail or touch up with paint as needed. If you spot cracks or chips, fix them sooner rather than later with some wood filler. This helps keep moisture out and is especially important in kitchens and bathrooms.