How to Use a Wallpaper Steamer Without Damaging Walls
Learning how to use a wallpaper steamer has become a go-to method for many when it comes to tackling old wallpaper, especially if you want to skip those harsh chemicals lurking in your cleaning cabinet. The process is pretty straightforward: you apply hot steam to loosen up that stubborn adhesive, making the whole peeling-off part way less of a headache.
Getting to Know the Basics of a Wallpaper Steamer (Because peeling wallpaper can be trickier than it sounds)
A wallpaper steamer works by heating water until it turns into steam, which you then carefully apply to the wallpaper. This steam does its magic by warming and moistening the adhesive underneath, making it soften up and letting the wallpaper peel off with a bit less elbow grease.
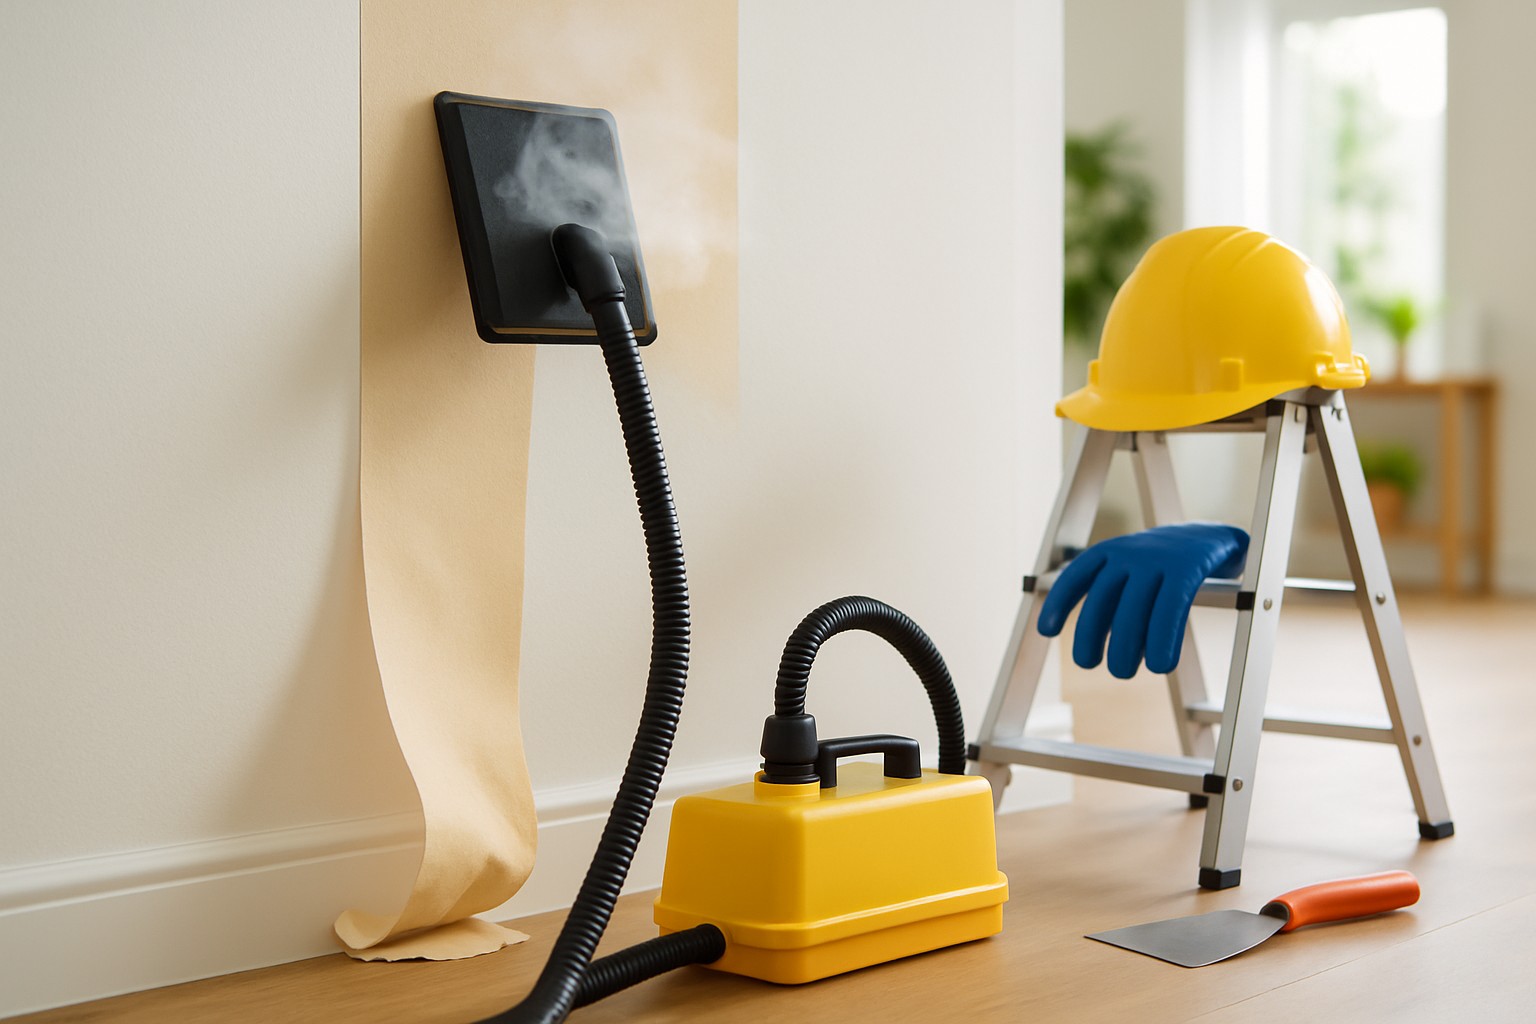
- A water tank that heats water until it’s good and steamy
- A steam plate made to spread steam evenly over the wallpaper with no hot spots
- A hose or tube connecting the tank to the steam plate like the lifeline for the steam
- An electrical power source to heat the water and keep the setup humming
Getting Ready to Use a Wallpaper Steamer
So, you are about to tackle your wallpaper with a steamer—nice choice! Before you dive in, it is a good idea to prep just right to avoid any hiccups down the line. Rolling up your sleeves early on will save you some headaches later, trust me.
Before you dive into using your wallpaper steamer it’s smart to prep your workspace and walls first. That means clearing out the room to avoid mishaps, covering floors and furniture to protect them from moisture, and figuring out if your walls are drywall, plaster or masonry.
Gather all your gear—think steamer, scrapers, drop cloths and your trusty safety equipment.
Next, either move the furniture out of the way or securely wrap it in plastic to keep dust and dampness at bay.
Don’t forget to protect the floors by laying down drop cloths or plastic sheets so you won’t cry over unexpected steam spills later.
Before you go all in, test the steamer on a small hidden patch of the wall. This trial run helps you see how the wallpaper and wall will take the heat and can save headaches.
Lastly, remove or carefully cover all electrical outlet and light switch covers to keep moisture from sneaking in where it shouldn’t.
Always stick to safety first throw on some gloves to keep your hands safe from hot steam and don’t forget your eye protection to fend off any unexpected splashes.
Step-by-Step Guide on How to Use a Wallpaper Steamer Safely Without Any Fuss
Fill up the steamer’s water tank following the manufacturer’s instructions—no shortcuts here. Then switch it on and let the water heat up.
Test the steam on a small, out-of-sight patch of the wallpaper to get a feel for the heat and steam flow before you start.
Press the steam plate firmly against the wallpaper for about 15 to 30 seconds. This helps loosen the stubborn adhesive underneath.
Gently lift the wallpaper with a scraper or putty knife. Be careful not to damage the wall while doing this.
Take your time and work through the wall in small sections from top to bottom until it’s all stripped away.
Re-steam any particularly stubborn spots until the wallpaper finally comes off cleanly.
Keep your drywall or plaster in good shape by keeping steam exposure moderate and avoid holding the plate in one spot for too long because too much moisture can sneak in and start to weaken the wall. When you are using the scraper, a gentle touch goes a long way. Try to lift the wallpaper without gouging or scratching the surface. If you notice steam condensing more than you would like, pause for a bit and let the wall dry out before diving back in.
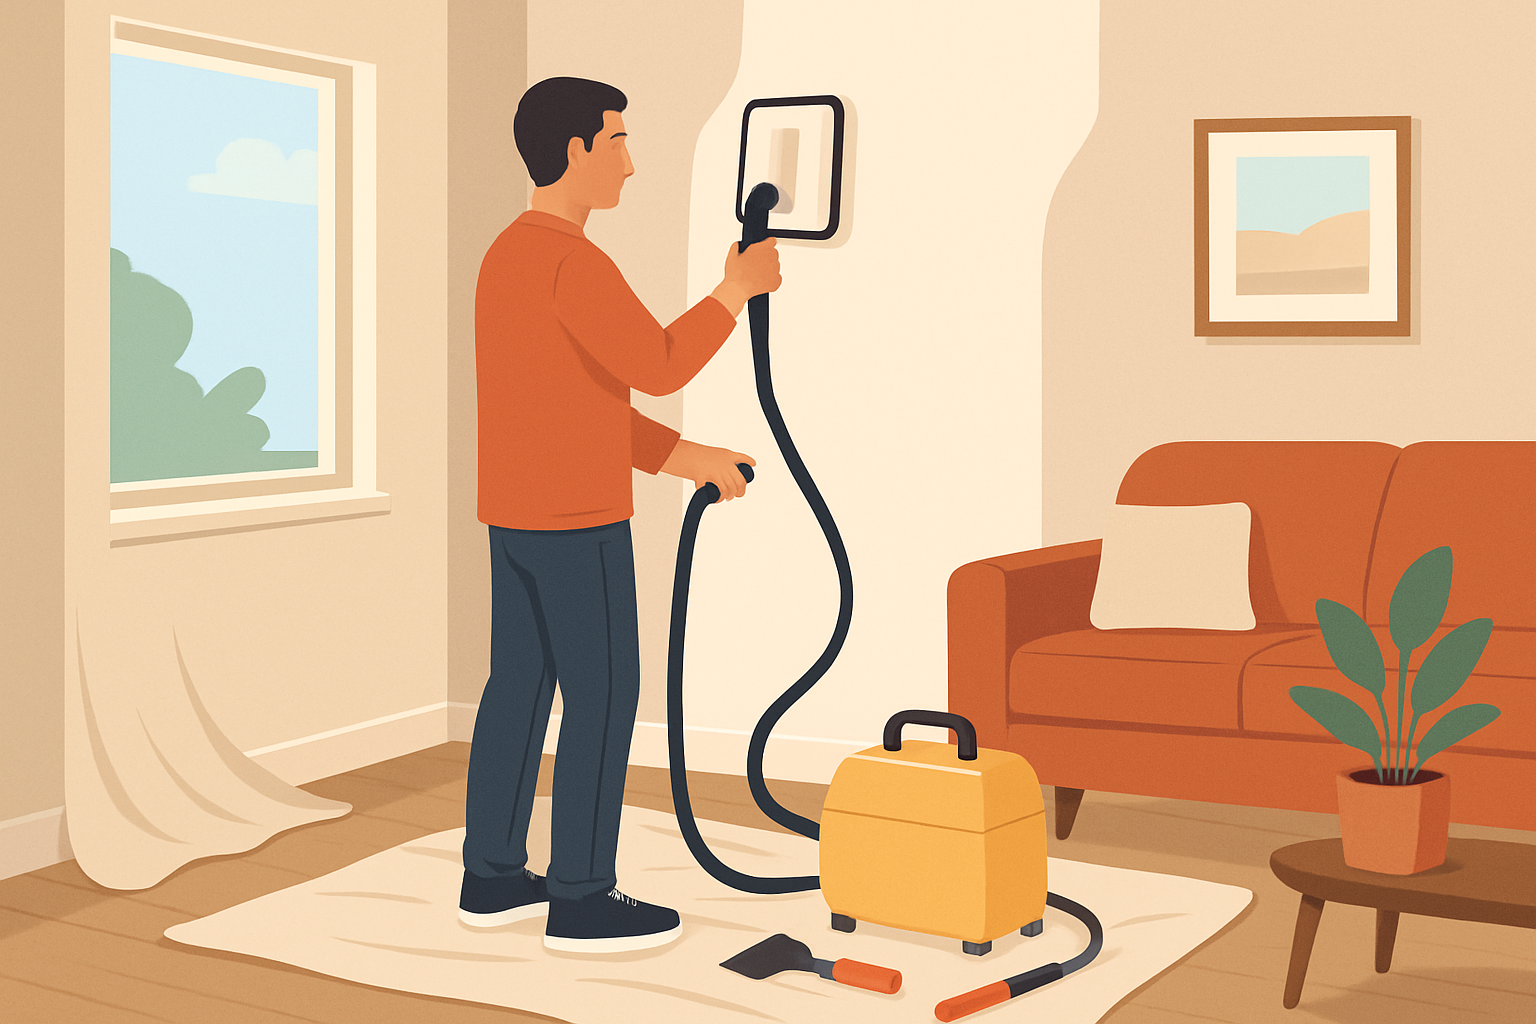
Using a wallpaper steamer with proper technique and safety measures to remove wallpaper from walls.
Common Mistakes Individuals Tend to Make When Using a Wallpaper Steamer
- Pressing the steam plate against the wall for too long can soak and seriously damage drywall or plaster. Walls aren’t fans of that kind of attention.
- Skipping the all-important test run on a hidden spot before tackling the whole wall is a small step that can save you a big headache.
- Overfilling the steamer’s tank causes heavy dripping that leaves more moisture than you want on your walls, like watering a plant too much.
- Scraping wallpaper with too much enthusiasm can gouge or chip the wall beneath. Sometimes a softer touch wins the race.
- Forgetting to switch off the power or cover electrical outlets opens the door to electrical hazards and potential damage. Definitely not the kind of sparks you want flying around.
Early signs of wall damage often sneak in as bubbling, discoloration or crumbling drywall around the wallpaper seams. If you notice moisture sticking around like an unwelcome guest it’s usually best to pause the steaming and give the wall plenty of time to dry completely to prevent long-term headaches.
Patience and a careful approach really do become your best pals when it comes to using steam to strip wallpaper. Trying to rush things or muscle through the process usually ends up causing more harm than good, leaving your walls looking worse for wear. So, taking it slow and steady not only saves the day but also keeps those surfaces you’ve poured time and money into looking sharp. – Home Renovation Expert
Cleaning Up and Caring for Walls After Steaming A Handy Guide
Once you have finally wrestled with the wallpaper and taken it all down - perhaps using a wallpaper steamer for stubborn sections - it's important to let those walls dry completely. Next, grab the right solutions to tackle any stubborn adhesive left on the walls. Then give the surface a good once-over for holes or rough patches and fix those before you dive into repainting or applying fresh wallpaper.
- Tackle that stubborn sticky residue by mixing warm water with wallpaper adhesive remover or a bit of vinegar. You will usually get solid results this way.
- Make sure to let the walls dry completely. Opening windows or turning on fans can help get the air moving and speed things up.
- For small dings and dents, patch them up with spackle or joint compound and then sand once dry to get a smooth finish.
- If the damage looks serious or you suspect mold or deeper structural issues, it’s smarter to call in a pro rather than going solo.
Useful Links
- This Old House - Tried-and-True Guides for Home Improvement and Renovation
- The Family Handyman - Your Go-To for Practical DIY Home Improvement and Repairs
- Bob Vila - Friendly Tips and Solid Advice on Home Renovation and Repair
- Home Depot - A Wealth of Products and Resources to Tackle Your Home Improvement Projects