How to Fix Peeling Deck Stain Before It Gets Worse
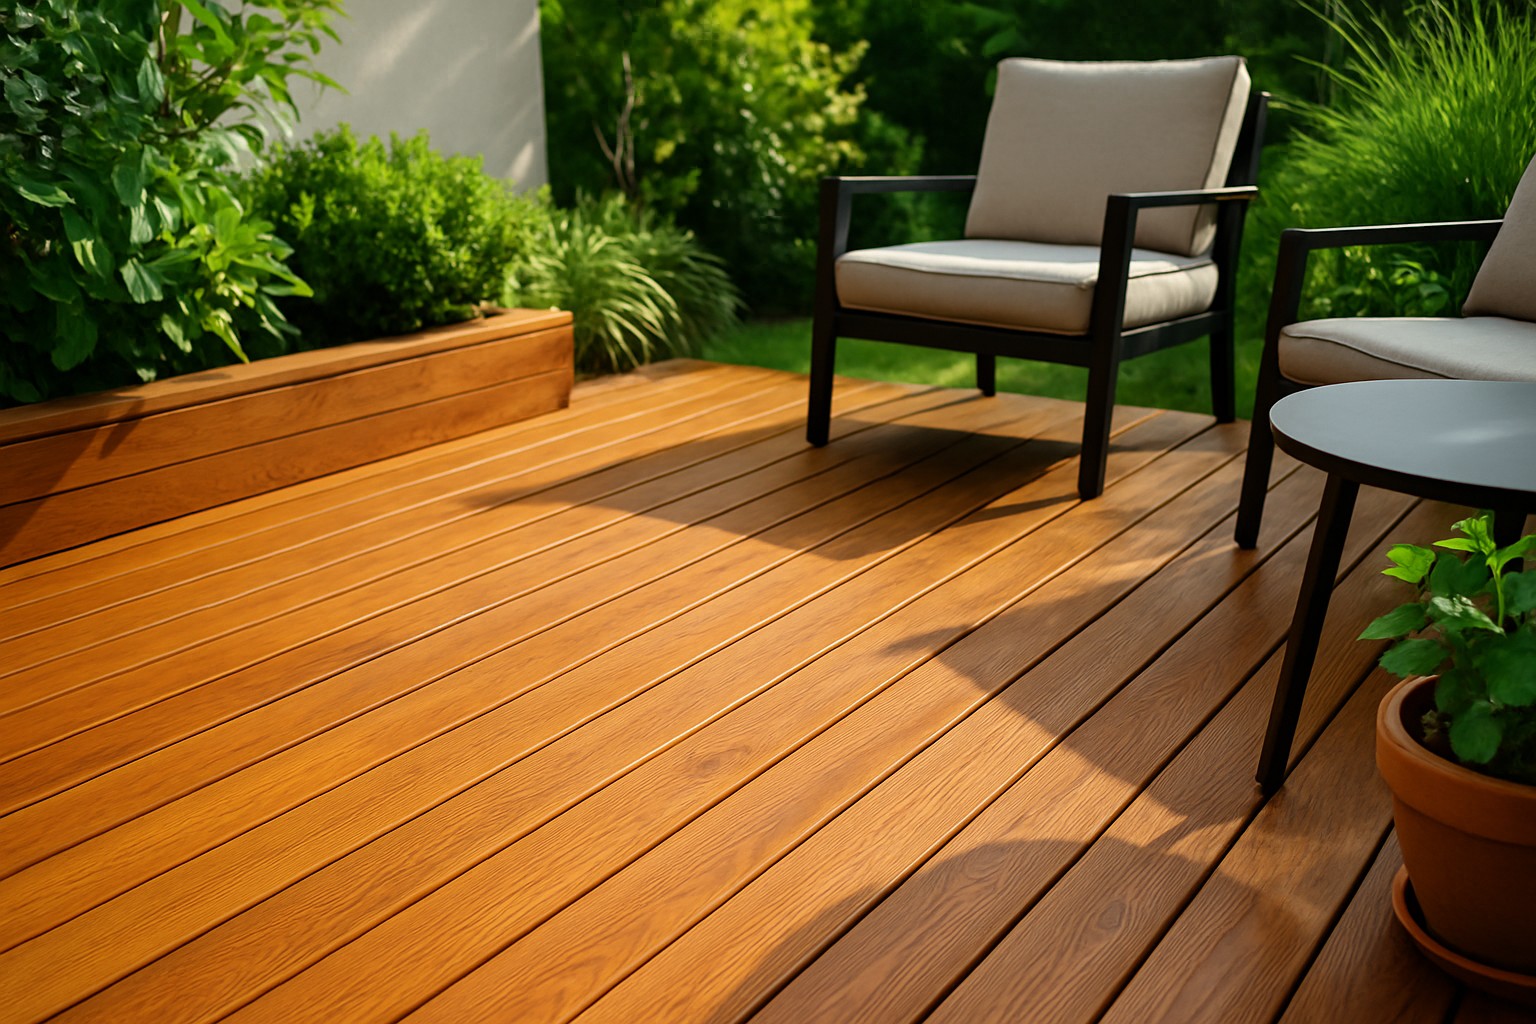
Peeling deck stain is a common and frustrating problem that can quickly affect both the look and protection of your wooden deck. Once the stain starts flaking off the wood underneath is exposed to the elements like weather damage, moisture, and gradual deterioration. Consider this article your trusty troubleshooting companion ready to help you identify the main causes of peeling deck stain and guide you through clear step-by-step fixes before things get worse.
Understanding Why Deck Stain Peels and What It Means (Plus a Few Things You Might Not Expect)
It’s really helpful to understand why your deck stain tends to peel off. Usually peeling happens because of moisture sneaking underneath or skipping proper surface prep. It can also come from relying on cheap stains or the wear and tear from the elements.
- Moisture trapped under or inside the wood causing the stain to lift and peel away like an unwelcome guest.
- Dirt and grime piling up and creating a stubborn barrier that keeps the stain from sticking properly.
- Long hours baking under UV rays that slowly break down the stain’s polymers and leave the color looking washed out.
- Using a stain type that doesn’t play nice with the existing coatings or the wood itself.
- Skipping important cleaning or sanding steps, something I’ve seen trip up more than a few projects.
- Big swings in temperature that make the wood expand and contract and give the stain a rough ride.
Peeling deck stain is more than just an eyesore—it’s like leaving your deck’s skin unprotected against the world. Once that protective layer starts to peel off, the wood beneath is vulnerable to the elements, especially water. Water can sneak in and cause all sorts of trouble like rot, warping and pesky splinters nobody wants to deal with. If you don’t jump on it quickly, the damage tends to spiral and puts not just the look but the structure and safety of your deck on the line.
Step 1 Getting a Handle on Just How Much Peeling We are Dealing With and What Kind It Actually Is
The first step in tackling peeling deck stain is to take a good, close look to really size up how bad the peeling is and what type you are dealing with. Peeling comes in all shapes and sizes, and a light surface flake here and there requires a different approach than peeling so deep it bares the wood underneath.
- Keep an eye out for any loose flakes of stain you can gently nudge off with your fingernail or a putty knife. Just use a light touch, nothing too rough.
- Try the tape adhesion test by pressing clear tape onto the stained spot and peeling it back to check if any stubborn stain comes off.
- Notice which areas take the most wear, such as spots constantly exposed to the sun or resting in damp shady areas.
- Examine the wood beneath any peeling sections carefully. Sometimes it shows signs of damage like unusual color changes or a soft spongy texture that indicates a problem.
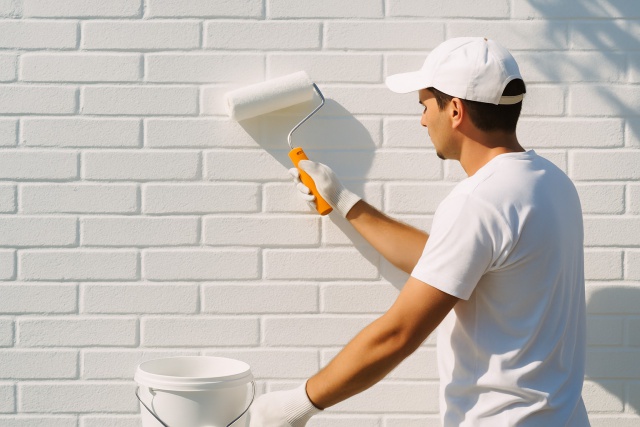
Step 2 How to Properly Prepare the Deck Surface because a good foundation makes all the difference
Getting the deck surface ready is key if you want a stain that sticks and doesn’t peel like a bad sunburn later. You need to clear away all the dirt and debris and sand down any rough patches where the old stain is flaking off. Make sure the wood is clean and completely dry.
You’ll have clear access to tackle the surface without tripping over anything.
Give the deck a thorough scrub with a deck cleaner or a gentle detergent mixed with water to banish dirt and mildew and oily spots that love to linger.
Allow the deck to dry completely. This can take 24 to 48 hours depending on the weather so patience is key here.
Sand the deck carefully, especially around the edges of peeled areas. This creates smooth transitions between stained and bare wood which helps the new stain grip better and look even.
Consider using a chemical stripper made specifically for decks to remove layers before you apply fresh stain.
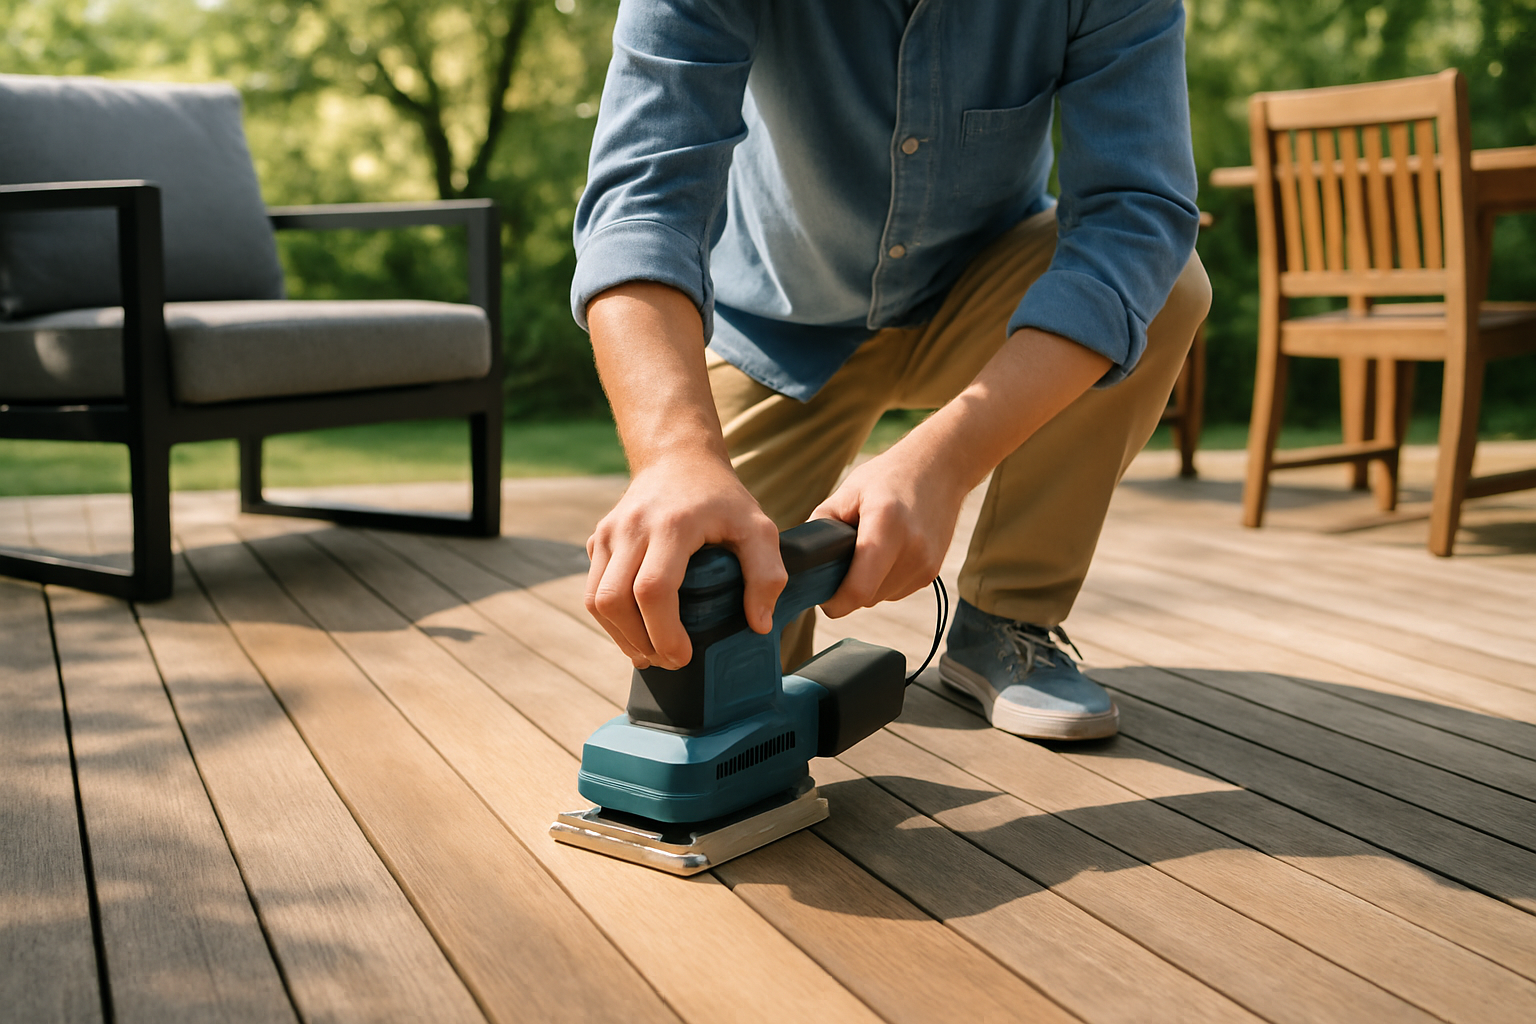
Preparing a wooden deck surface by sanding to remove peeling stain and ensure smooth finish before re-staining
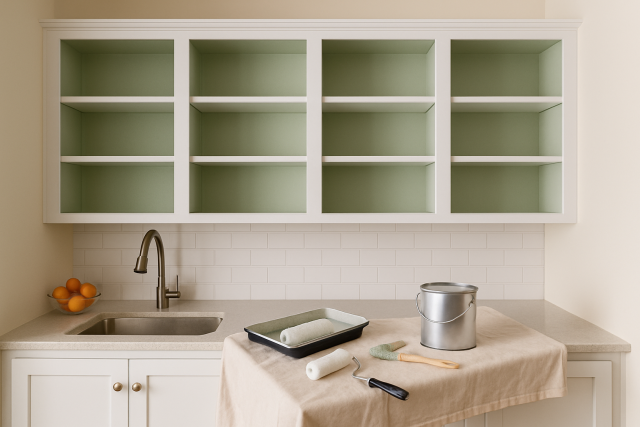
Step 3 Picking the Best Stain for Your Deck Because Not All Stains Are Created Equal
Picking the right type of stain really plays a starring role in durability and keeping peeling at bay. Deck stains come in a wide array of formulas tailored for specific wood types and the quirks of different weather conditions.
- Oil-based stains sink in deeply and nourish and protect dense woods while keeping them flexible over time.
- Water-based stains dry faster, clean up easily with soap and water and provide solid UV protection.
- Semi-transparent stains show off the wood’s natural grain and balance color with protection.
- Solid stains act like paint by providing rich color and a thick shield but hide the wood grain underneath.
When picking out a stain, it is a good idea to keep the type of wood in mind. Softwoods like cedar and pine usually get along well with penetrating oils, while hardwoods such as mahogany often call for water-based or semi-transparent stains to really bring out their charm. It also pays off to think about how much sunlight and moisture your deck is exposed to.
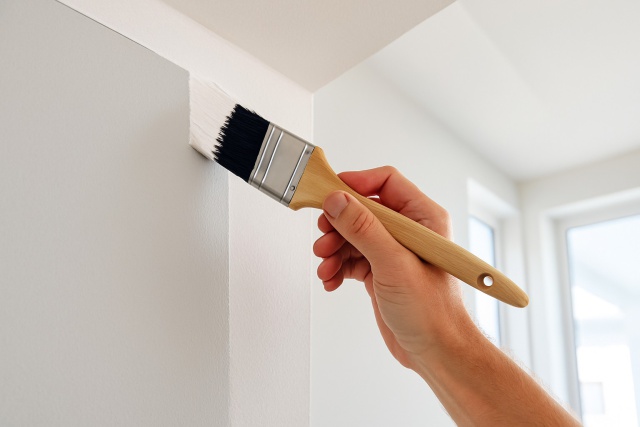
Step 4 Applying the stain correctly without turning it into a Rorschach test
Once you have settled on the perfect stain getting the application right is just as key to avoid peeling later on. Using the wrong technique, staining when the weather is acting up or slapping it on unevenly can turn your project into a sticky mess.
Check the weather forecast and aim for dry days with mild temperatures, ideally between 50°F and 85°F. Low humidity will help keep things comfortable and manageable.
Grab some good quality brushes or rollers made for wood stains because they help control how thickly you apply the stain and spread it evenly without any hassle.
Apply the stain in thin, smooth layers while always following the wood grain. This little trick helps the stain soak in nicely and prevents it from pooling into unwanted puddles.
Avoid staining under blazing direct sunlight or during the hottest part of the day since that causes the stain to dry too quickly, resulting in a less-than-stellar finish.
Be patient and let each coat dry fully before moving on to the next one, usually 24 to 48 hours. Rushing through the refinishing steps is a common mistake, so take your time and let the wood do its thing.
Step 5 How to Handle Persistent Peeling Deck Stain Problems Without Losing Your Cool
If peeling keeps happening despite all the careful prep and application it’s probably time to take a closer look under the hood. Persistent peeling usually means something’s off—maybe trapped moisture playing tricks or stain layers that don’t get along. It could also be wood that was a bit iffy before you even picked up the brush.
- Moisture trapped under the deck surface or seeping up from the ground causes the stain to peel away.
- Mildew or mold beneath the stain can mess things up by preventing it from sticking properly. Tackling that issue before refinishing is a must.
- Stain compatibility problems arise when the new stain refuses to bond well with the old coatings or any existing sealers because they are not on the same wavelength.
- If the wood was too damp when stained, it can’t soak up the stain properly and usually peels down the line.
Peeling keeps rearing its ugly head. It’s definitely worth rolling up your sleeves and running some extra moisture tests. Slap on mildew treatments, strip away stubborn finishes that don’t play nice, and give the wood a proper dryness check with a moisture meter before you think about applying a new stain.
Preventive Maintenance to Keep Your Surfaces Peeling-Free in the Long Run
Preventing peeling deck stain works best when you stay ahead of the game with regular maintenance. Keeping up with consistent care not only helps your stain last longer but also keeps your deck looking sharp and ready to handle whatever the weather throws at it. Alongside cleaning and inspecting for damage, touching up spots as needed and paying attention to the environment around your deck can greatly reduce the chances of that pesky peeling appearing.
Give your deck a good cleaning at least once a year. This helps sweep away dirt, grime and mildew that can weaken the stain’s hold.
Keep an eye on your deck now and then for any signs of wear or peeling. Don’t wait to patch up damaged spots because catching them early usually saves a headache later.
Be mindful of plants and watering nearby since too much moisture can cause problems. Letting the air flow freely around your deck works wonders.
Use covers like umbrellas or awnings when the weather turns bad to protect your deck from the worst conditions.
Reapply deck stain every 2 to 3 years or follow the product’s recommendations to keep that protective layer working effectively.