How to Paint Inside of Cabinets Without Making a Mess
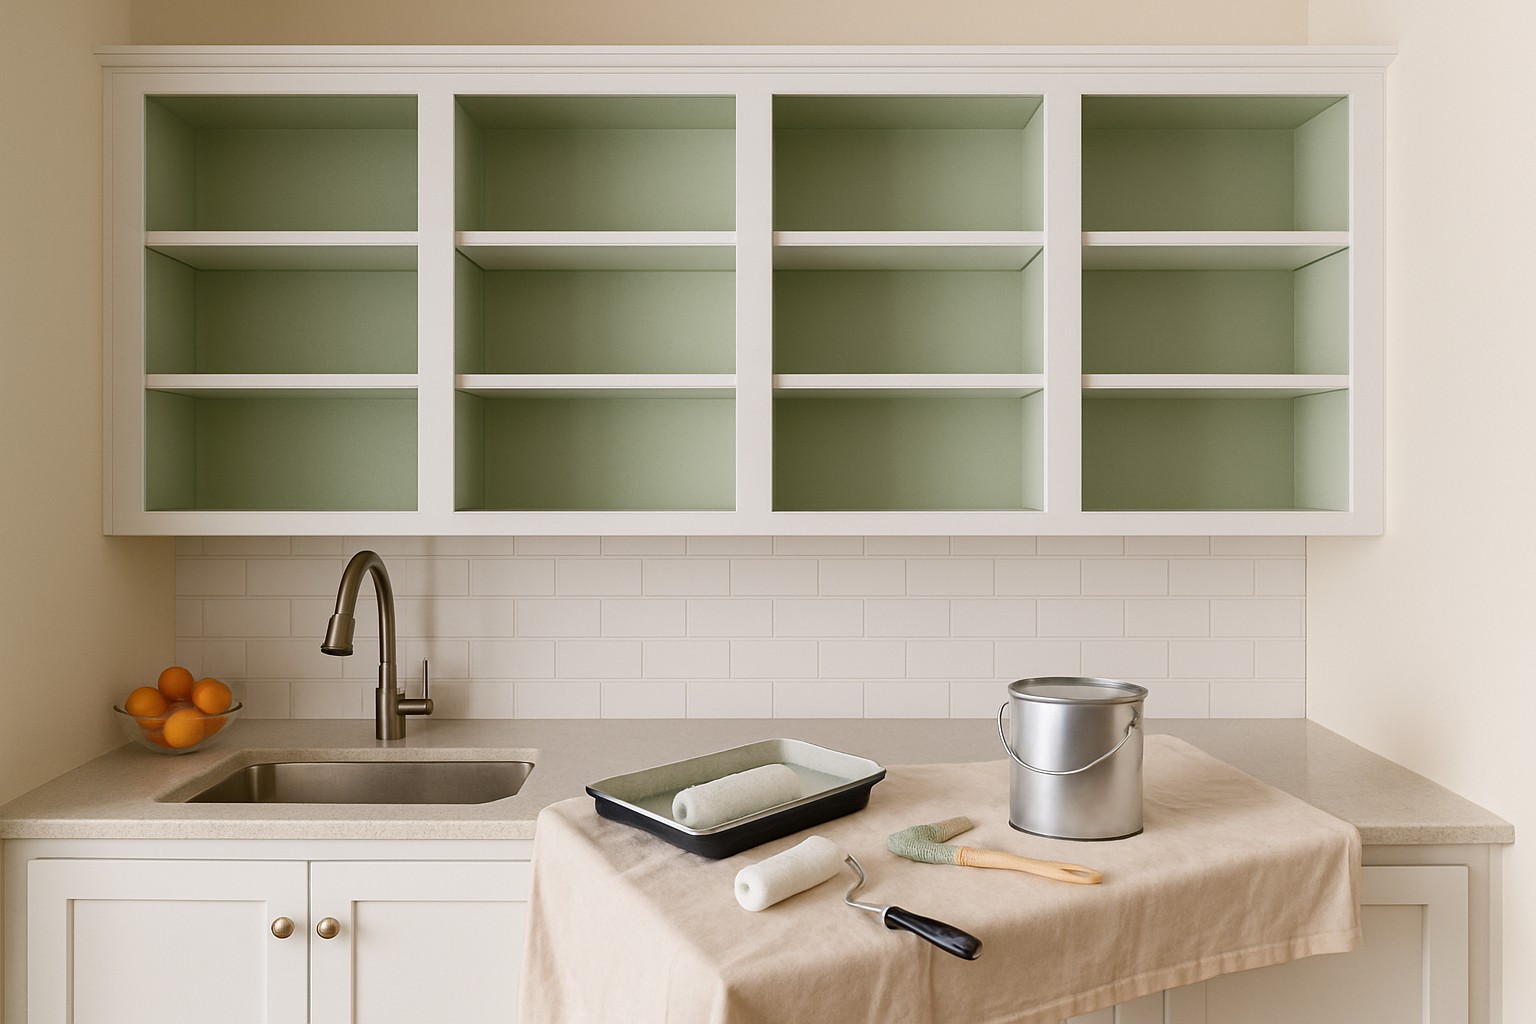
Learning how to paint inside of cabinets can truly transform your kitchen or workspace by giving it a splash of color and a fresh inviting vibe. Nail a clean sharp finish by sticking to the right steps and having the proper tools on hand from start to finish.
Essential Tools and Materials You’ll Want When Painting the Inside of Cabinets
- Go for high-quality semi-gloss or satin cabinet paint because it really pays off with durability and makes cleaning easy
- Grab angled sash brushes and small foam rollers to get those tight spots looking smooth and flawless without much effort
- Don’t forget to apply painter's tape to protect edges and hardware. This step can save you a lot of trouble
- Spread out drop cloths or plastic sheeting to catch any stray drips and keep your floors spotless
- Gather cleaning supplies like degreaser or trisodium phosphate along with medium and fine-grit sandpaper. Prepping surfaces properly is half the battle won
- Suit up with safety gear such as gloves, masks and goggles. These are essential for protecting yourself from fumes and dust so don’t skip them
Choosing the right materials is vital when painting inside cabinets if you want to avoid a big mess. I’ve found it’s best to use paints made specifically for cabinets or trim since they offer durability and a smooth finish. Semi-gloss or satin finishes are the go-to because they resist stains and wipe clean easily. For tools, angled sash brushes help you paint corners and edges with precision. Small foam rollers are perfect for laying down an even coat without brush marks. Painter’s tape protects nearby areas and drop cloths keep your floors clean.
How to Get Cabinets Ready Before Painting (Because Prep Work Makes All the Difference)
Getting ready is absolutely key when it comes to nailing a clean, professional-looking cabinet paint job. Start by taking off the cabinet doors and removing all the hardware—think handles and hinges. It makes your life so much easier and prevents paint from playing clingy with those metal parts. Give all the surfaces inside the cabinets a really good scrub down with a degreaser to wipe away oils and dirt—this little extra step can save you from dealing with peeling paint down the line. Once everything’s dry, go over the surfaces lightly with medium-grit sandpaper to build a smooth base that paint will actually want to stick to. Then, grab a tack cloth to sweep away any lingering dust.
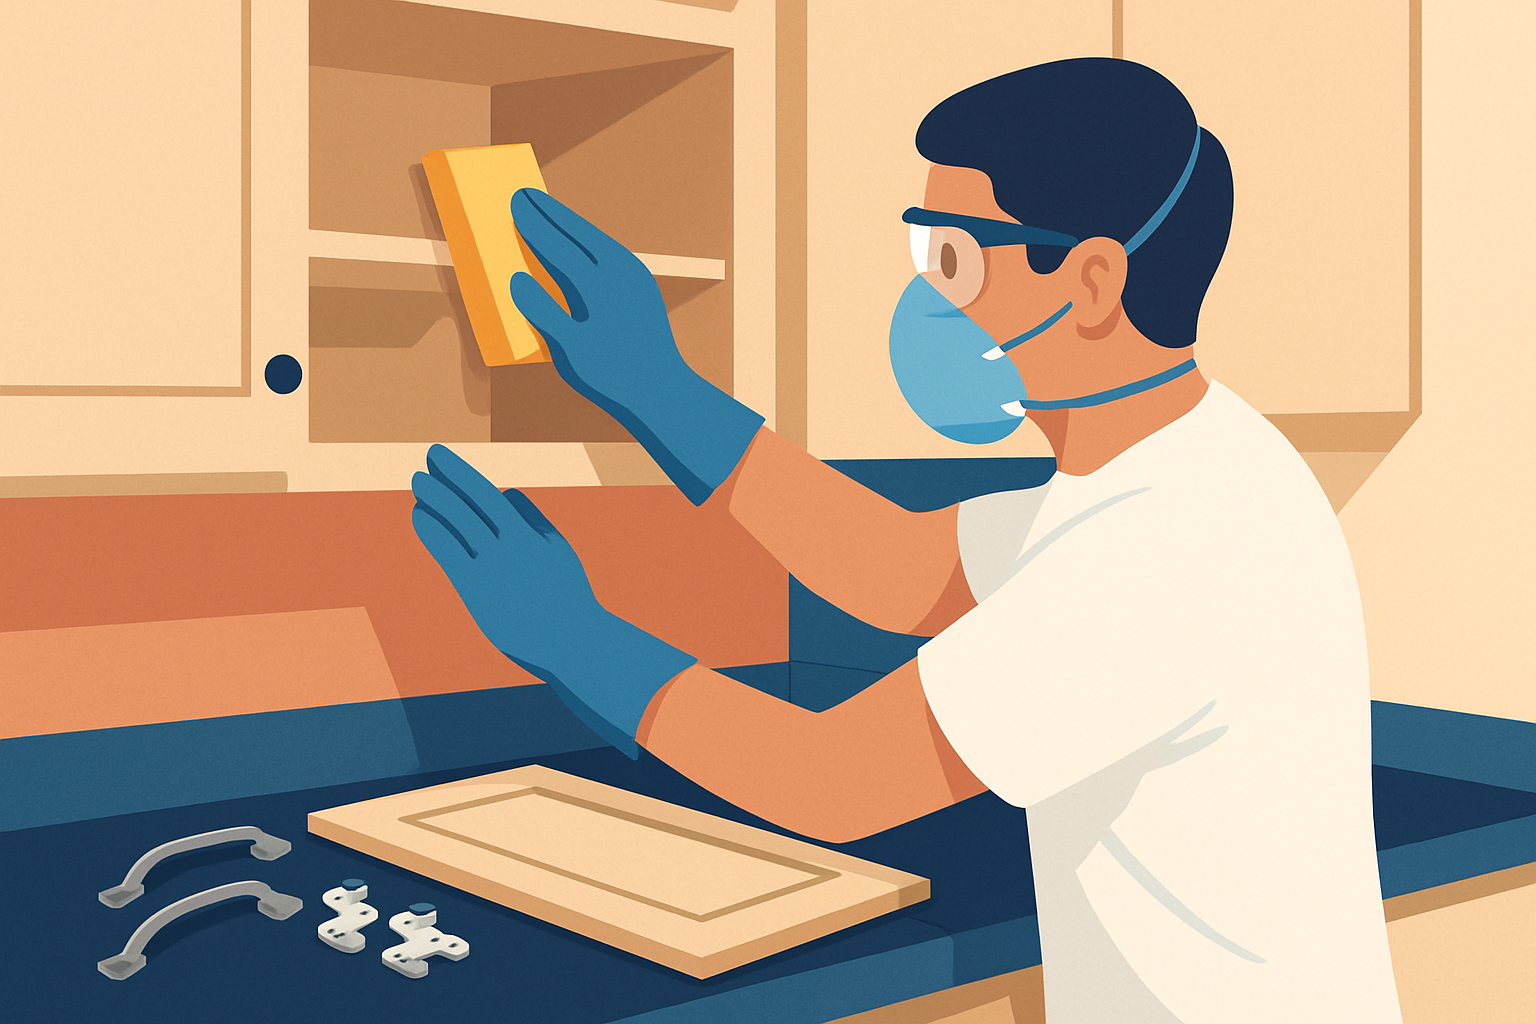
Sanding and preparing the cabinet interior before painting for a smooth finish
Step-by-Step Guide on How to Paint Inside of Cabinets Cleanly (Because Who Wants Drips and Smudges?)
Lay down drop cloths or plastic sheeting around your workspace to save yourself the headache of cleaning up paint spills and dust later on. Your floors will thank you.
Make sure the area is nicely ventilated—open windows or turn on fans, or pick a room with good airflow to keep those paint fumes from hanging around too long.
Take your time and carefully slap on painter’s tape along cabinet edges, hinges and any hardware you can’t remove. It’s a small step that saves big regrets.
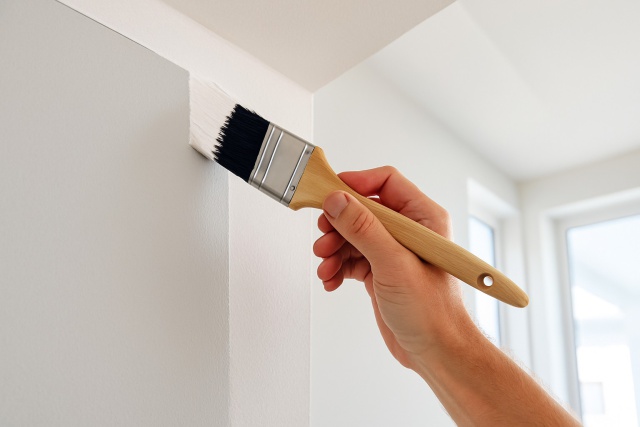
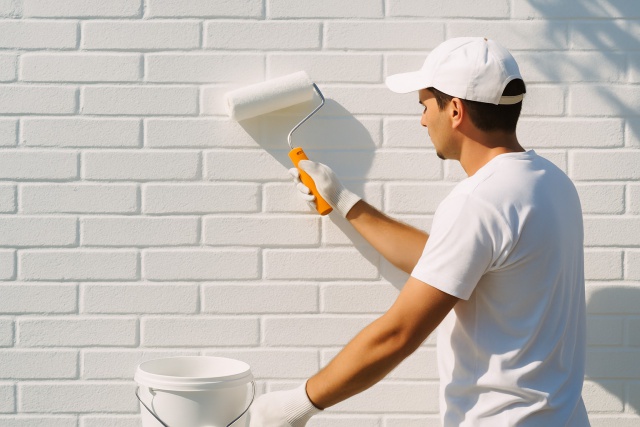
Choose the right brush or roller for the job: an angled sash brush is great for tight corners while a 4-inch foam roller covers larger flat surfaces with ease.
Prime the inside of the cabinets with a high-quality primer that matches your paint. Spread it evenly and let it dry completely—patience is worth it here.
When you paint the first coat, go for thin, even layers using long steady strokes. Resist the urge to overload your brush or roller or you’ll be chasing drips.
Let the first coat dry fully—check the paint manufacturer’s recommendations so you’re not just guessing. Then give it a gentle sanding with fine-grit sandpaper to get that smooth finish ready for the next layer.
Apply a second thin coat if needed. Once the final coat is bone dry, carefully peel off the painter’s tape for those crisp clean edges you’ve been aiming for.
If you follow these steps with a bit of care and patience, you’ll wind up with cabinet interiors that not only look great but also save you from a ton of mess and frustration.
Tips and Tricks to Dodge the Usual Headaches When Painting Cabinets
- Use angled sash brushes for precise coverage in tight corners and along edges. Make sure you don’t stray beyond the areas you actually want painted. A steady hand really helps here.
- Try not to overload your brush or roller because too much paint leads to drips and annoying pooling inside the cabinet. Nobody wants that mess.
- Keep a damp cloth or sponge handy since you’ll be grateful for it when you catch those accidental spots early while the paint is still wet and easy to fix.
- If possible, take the cabinet doors off before you start painting. This makes accessing tricky spots much easier and reduces unexpected splatters.
- Work in a well-lit and well-ventilated space so you can spot any missed patches right away and keep the fumes to a minimum. It’s better for your nose and your sanity.
- Clean your brushes and rollers as soon as you can between coats. This keeps the paint flowing smoothly and helps avoid annoying flakes that would ruin your fresh finish.
"Taking your time with patient brush strokes and loading your brush carefully helps avoid drips and splatters inside cabinets. When you rush, the mess is almost guaranteed—trust me, I have been there and cleaned up enough splatters to last a lifetime." — Professional House Painter
Tips for Tackling the Cleanup After Painting Cabinets (Because Let’s Be Honest, The Job’s Not Done Until the Mess Is Gone)
Now that you've learned how to paint inside of cabinets and the surfaces are completely dry, give your brushes and rollers a thorough clean using the recommended solvent or warm soapy water. This way you can squeeze more life out of them for next time. Don't forget to dispose of any paint-soaked rags and materials responsibly following your local guidelines.
How to Tackle Those Annoying Cabinet Painting Problems Like a Pro
- Tackle those pesky paint drips and runs by letting them dry completely first—patience is key here—then gently sand the area smooth before applying a light touch-up coat. It’s like coaxing a stubborn stain out of your favorite shirt.
- When coverage looks a little patchy, go for several thin coats instead of one thick blob. Building up the color gradually usually does the trick and avoids that amateurish look.
- If you notice paint peeling or bubbling don’t panic. Remove the damaged paint, sand the spot well, and use a primer before repainting. Think of it as giving the wall a clean slate to work with.
- When paint is drying at a snail’s pace, boost the ventilation and increase the room temperature a bit. On the flip side if it dries fast and starts cracking, try cooling things down and maybe add a paint conditioner. It’s all about finding that sweet spot.