Painting Bricks White the Right Way First Time
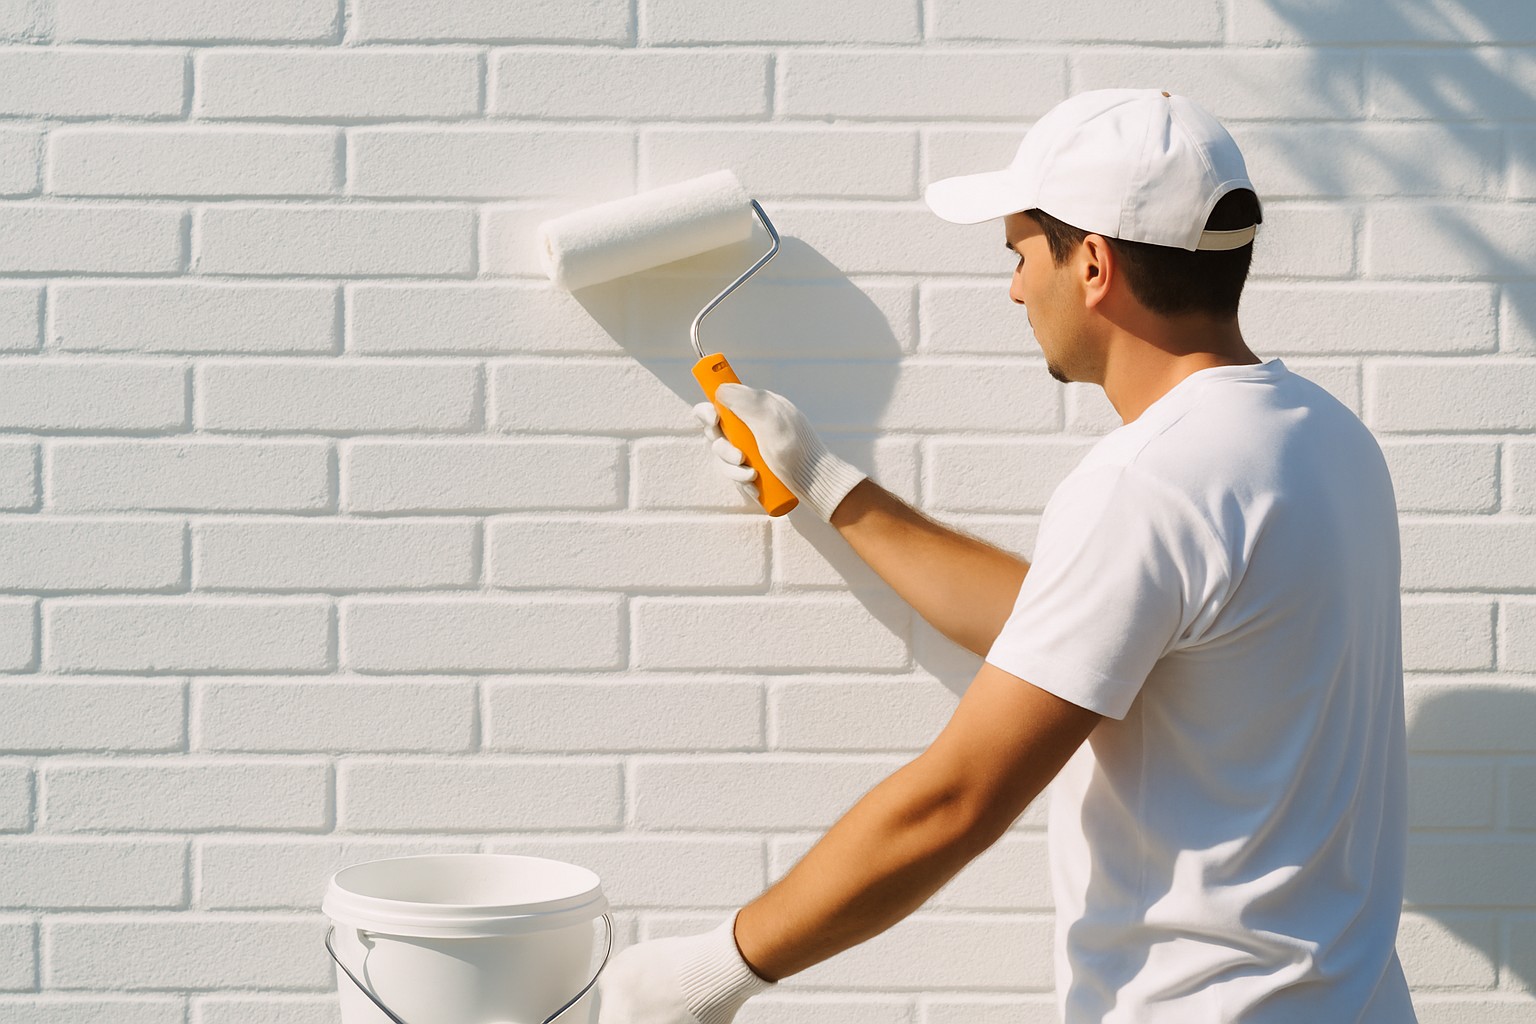
Painting bricks white can instantly breathe new life into any space and lend it a crisp fresh vibe that is hard to ignore.
You should paint bricks white only after keeping a few key things in mind to get the best results. First, figure out what kind of bricks you are dealing with and their condition. Some bricks tend to be more porous or fragile and that can affect how well the paint sticks. Also, consider whether your project is indoors or outdoors since that changes the type of paint and sealant you’ll want. Preparing the surface is essential. Give the bricks a good scrub to clear away dirt, moss, and any loose bits that could cause trouble. If the mortar is crumbling or worn, fixing that beforehand is smart.
Getting to Know Your Bricks and Why a Little Prep Goes a Long Way
Bricks come in various textures and porosity levels. They range from smooth dense clay bricks to rough highly absorbent ones or concrete blocks. Porous bricks gobble up paint faster than you would expect and this affects how many coats you will need to apply. Conversely those smooth bricks usually require specific primers to help the paint grab hold and play nice.
Think paint peeling or flaking and patchy coverage that just won’t quit. Dirt or moisture sneaking in under the paint tend to cause adhesion problems and cut short the lifespan of your hard work. Uneven brick surfaces almost always have blotchy coverage if they aren’t primed right.
Key Tools and Materials You’ll Need to Paint Bricks White
- A top-notch masonry primer designed specifically for white paint really ups the game by improving adhesion and blocking stains.
- Go for exterior or interior masonry paint ideally acrylic-based since it offers great flexibility and lets the surface breathe.
- Stiff-bristle paintbrushes are the secret weapon for tackling tricky spots like mortar joints and uneven textures where precision counts.
- Medium to long nap paint rollers are your best friends when dealing with rough porous brick surfaces that laugh in the face of smooth rollers.
- Using a power washer or a stiff-bristled scrub brush makes cleaning more thorough because nobody wants to paint over yesterday’s dirt.
- Mild detergent or a trisodium phosphate (TSP) solution works wonders to cut through grease and grime without sending you running for cover.
- Caulk and mortar repair tools come in clutch when you need to fill cracks or fix crumbling joints before things get worse.
- Painter's tape and drop sheets are the unsung heroes protecting nearby areas from accidental paint splatters that always find a way.
- Donning a respirator mask and gloves keeps you safe from the less-friendly side of chemicals and dust.
- Applying a sealant or masonry waterproofing agent helps shield your masterpiece from weather damage.
- A ladder or scaffolding is essential to reach the high spots safely because gravity isn’t forgiving.
- Paint trays and stir sticks make mixing and applying paint a smoother more even affair saving you from awkward touch-ups later.
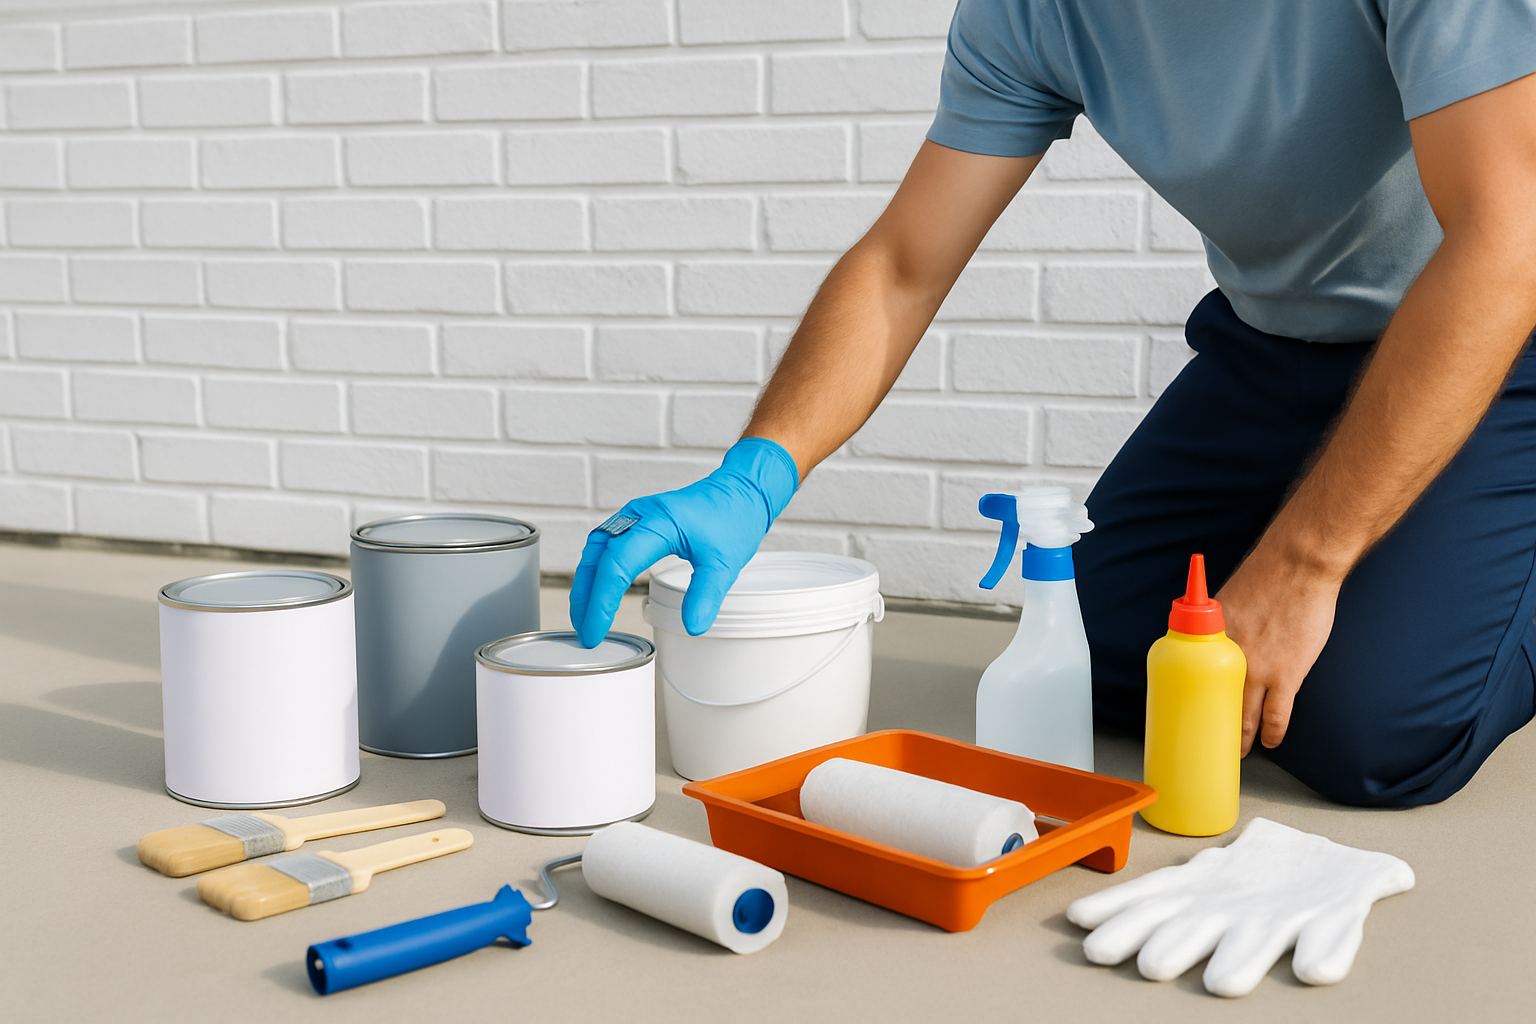
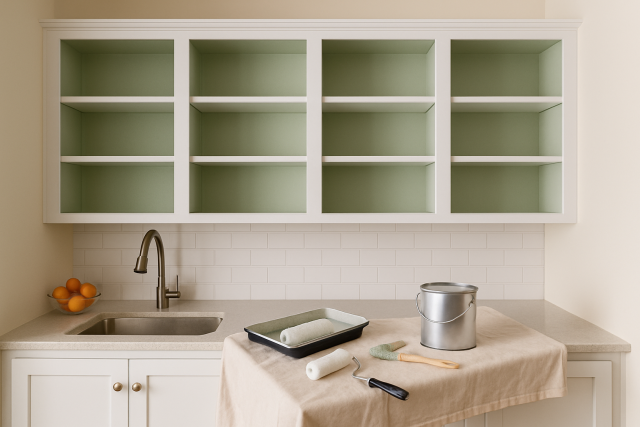
Essential tools and materials laid out for painting bricks white: brushes, rollers, primer, paint, and safety gear.
A No-Nonsense, Step-by-Step Guide to Painting Bricks White—Done Right
Inspect and Repair: Take a close look at the bricks and mortar for any damage. Patch up cracks and loose spots using fresh mortar or patching compounds and make sure everything feels solid and stable before moving on.
Clean Thoroughly: It’s time to tackle dirt, moss and grease. Grab a power washer or roll up your sleeves with a scrub brush and some mild detergent. Be patient and let those bricks dry completely because rushing this part never helps.
Protect Surroundings: Shield the nearby areas with drop cloths and use painter’s tape on edges to keep your lines looking sharp and professional.
Apply Primer: Choose a masonry primer that matches your brick type perfectly. Then use a roller and brush to coat the rough surface evenly. You want good coverage without missing any nooks.
Select the Right Paint: Choose a high-quality white acrylic masonry paint. It’s generally flexible and breathable which is key for exterior bricks that need to withstand the elements.
First Coat Application: Apply the first coat with a roller over the big flat areas. Switch to a brush around cracks and tight spots. Take your time and work steadily around the smaller sections.
Allow to Dry: Follow the manufacturer’s drying timeline which is usually about 24 hours. Avoid painting when the sun is blazing or in extreme temperatures to save yourself headaches down the line.
Apply Additional Coats: For a smooth full finish, apply at least one more coat. Watch carefully for any missed spots or areas that look a bit thin.
Seal the Paint (Optional): If you want to boost durability especially outdoors, consider applying a masonry sealant once the paint has fully cured. This is a good way to help protect against moisture and dirt getting in.
Every step really counts when it comes to nailing a durable, eye-catching finish. Start off with some careful repairs and thorough cleaning because skipping this can lead to peeling or flaking paint down the line and nobody wants that. Next up, slap on a good primer since it works like the paint’s best friend and helps it grip the brick surface like a pro. When you get to the painting part, take it slow and steady by working one section at a time. A roller speeds things up and a brush is your go-to for the nitty-gritty around those tricky mortar joints. Steer clear of painting on windy or damp days because dust and moisture love to mess things up. Applying a few coats of paint not only evens out coverage but also does a solid job hiding any dark spots or stubborn stains on the bricks.
Tips and Tricks for Nailing a Durable, Flawless Finish That Lasts
- Try to steer clear of painting when the weather is extreme. The sweet spot usually lies somewhere between 50°F and 85°F, and humidity should stay low.
- Apply paint in thin, even coats. This simple trick helps reduce drips and prevents buildup.
- Always start by painting the mortar joints with a brush before rolling the bricks. This is the best way to ensure every nook and cranny gets covered.
- Choose a good-quality acrylic latex paint that lets the brick breathe so any trapped moisture can escape and peeling becomes less of a problem.
- Give each coat plenty of time to dry according to the product instructions. Rushing the process won’t do the paint justice or help it cure properly.
- Keep your painted bricks looking sharp by gently cleaning them once a year with a mild detergent. This helps wash away dirt and sneaky mildew without being harsh.
- Use clear masonry sealants sparingly. They provide solid protection against water damage while letting the brick’s natural charm shine through.
Taking good care of your painted bricks can really help them stand the test of time. I have found it is wise to keep an eye out for cracks or peeling paint now and then, so you can nip any issues in the bud before they get out of hand.
Frequent Mistakes and Easy Fixes You’ll Thank Yourself For
- Painting directly on dirty bricks often leads to poor adhesion and peeling later on. Doing a thorough cleaning beforehand can save you trouble.
- Using the wrong primer or skipping it usually results in patchy coverage and paint that wears out quickly.
- Applying paint too thickly or relying on one heavy coat often causes drips and uneven drying. Nobody wants that messy look.
- Forgetting to use sealants on outdoor projects leaves your paint exposed to harsh weather sooner than you would like.
- Overlooking the mortar joints causes the paint to thin in those areas. A pro tip is to brush those joints first to keep your finish even.
- Rushing through drying times between coats can seriously reduce how long your paint lasts.
Catching problems early can really save you from costly repairs or a full repaint. When the paint starts peeling, it’s best to roll up your sleeves and tackle it by pressure washing and sanding any loose spots before you apply primer and paint again. Uneven color when painting bricks white usually means a few extra coats can fix the issue once the surface is prepped right. For those pesky small cracks in mortar joints, filling and painting them carefully can restore a nice consistent look without replacing bricks.